How to Install a Mini Split in a Pole Barn (Knoxville Builder Guide)
I've installed mini splits in pole barns all over the Knoxville area-workshops in Maryville, storage buildings in Farragut, home offices in Oak Ridge. Here's what the process actually looks like, where people go wrong, and when to hire it out.
Updated
What to Know First
-
A properly sized mini split can heat and cool most pole barns in climates like Knoxville or Ohio, as long as you handle insulation and air sealing first.
-
Do a real load calculation instead of guessing by square footage, because tall ceilings and big doors change everything.
-
DIYers can handle mounting, running the lines and condensate drainage, but electrical and refrigerant work should follow code and often needs a licensed pro.
-
There's 50+ inches of rain a year in Knoxville, so the placement of the outdoor unit, the height of the pad, and protection against corrosion matter more than most guides mention.
-
If your barn is over 4,000 sq ft or you need multiple zones, a professional HVAC crew is usually worth the cost.
How Mini Splits Work in Pole Barns
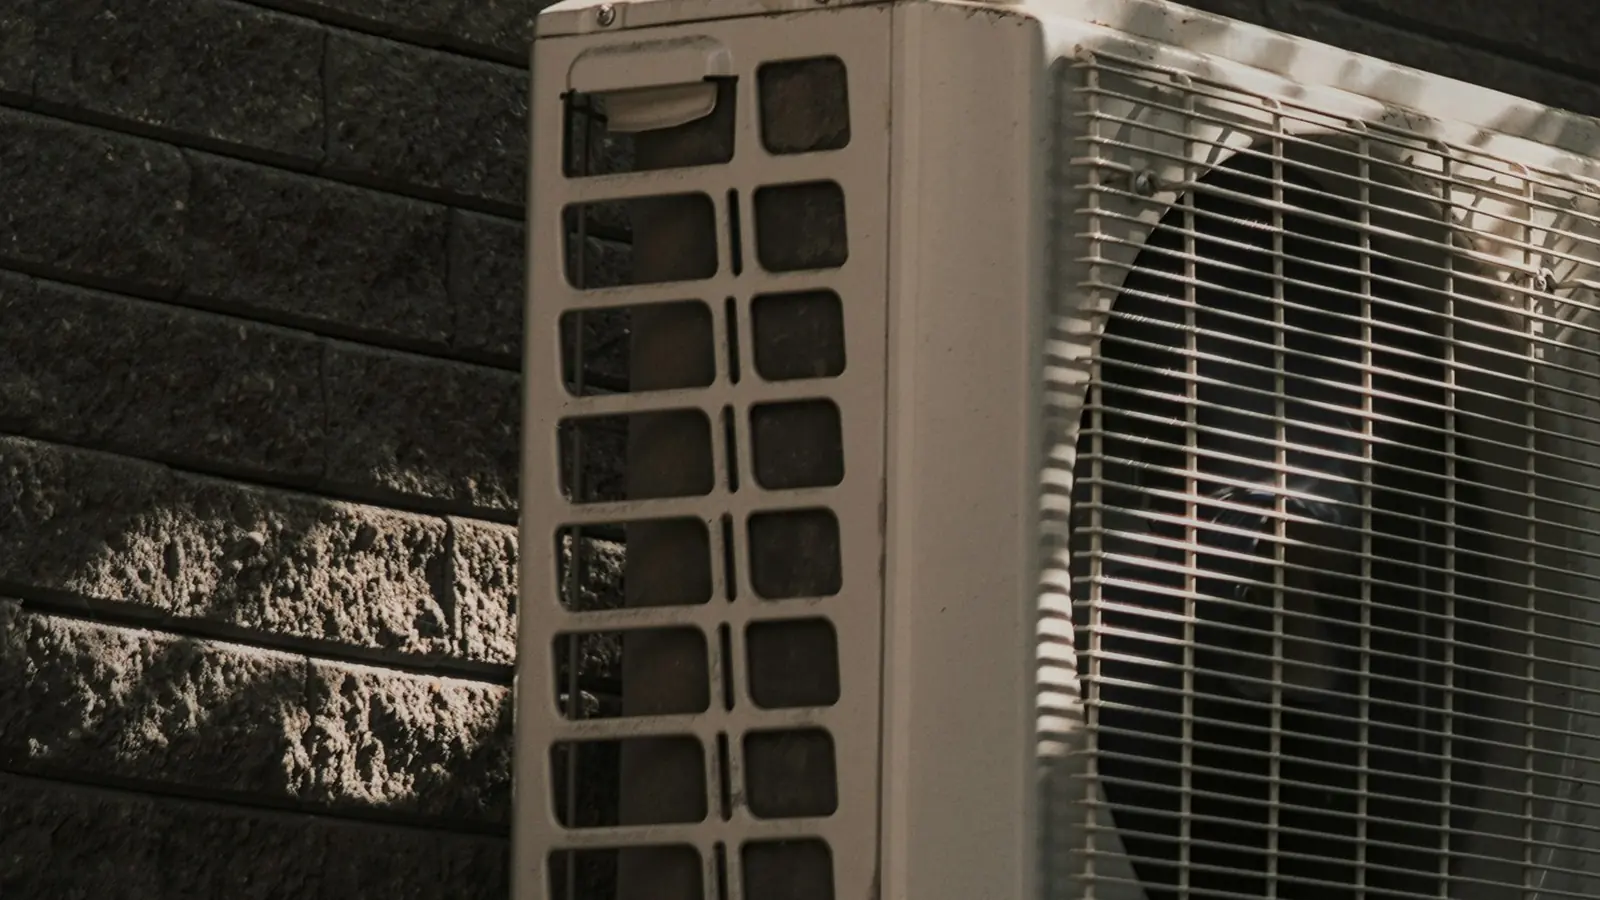
A mini split is a ductless heat pump that has one outdoor condenser and one or more indoor air handlers that are connected by small refrigerant lines. Installation involves connecting indoor units to an outdoor unit through a wall, and no ducts are needed. In cooling mode, the system is pulling heat from inside the barn and sending it outside. In heating mode, it is taking heat from outdoor air and bringing it in. Mini splits can operate efficiently down to -15°F (-26°C), so they can provide both heating and cooling all year, even through an East Tennessee winter. They also improve air quality with dehumidification features, which matters in a humid climate. Mini splits are cost-effective because of their higher efficiency compared to traditional split systems with ducts, and they give you the flexibility of zoning without having to tear into metal framing. I see them most often in woodworking shops, RV storage barns and home offices that need spot conditioning rather than whole-building HVAC.
Step 1: Plan the System for Your Pole Barn
This is where most DIYers either get it right or set themselves up for expensive headaches. Using a mini split in a pole barn means you need to think about insulation, moisture control and wall construction-don't skip this.
Measure the full barn: length, width and average ceiling height. A 12–16 ft ceiling changes everything compared to a standard 8 ft room. List how you use the space-light storage, daily workshop, office area or hobbies with heat-generating tools. Pole barns usually don't have the heavy insulation that modern houses do, so document what you've got: metal panels, batt insulation, spray foam, rigid board, roof insulation and whether the slab is insulated.
Finish insulation and air sealing before you pick equipment capacity. A well-insulated barn doesn't make the AC run constantly, and it makes sizing much easier.
Mini splits give you zoned heating and cooling for different areas. They can cut energy waste by only cooling the spaces you use. Decide early whether you want a single-zone system for an open barn or a multi-zone setup with separate heads for an office, workshop and storage. They can handle multiple zones for efficient temperature control.
In a humid, wet place like Knoxville-around 51.93 inches of precipitation annually and 86.4 days with at least 0.10 inches of rain-humidity control and rust prevention matter as much as temperature. An Ohio barn may be more heating-driven. Note that permitting in Tennessee counties requires electrical and mechanical inspections. They'll look hard at disconnects, grounding and outdoor unit support.
Step 2: Size the Mini Split for a Pole Barn
Square-foot rules of thumb fail for pole barns. Sizing a mini-split system depends on BTUs per square foot, ceiling height and insulation quality. High ceilings need more cooling power for mini splits-calculate cooling needs based on square footage and ceiling height, using volume (cubic feet), not just floor area.
A standard poorly insulated barn may need 20 to 30 BTUs per square foot. A well-insulated barn might need only 10 to 15 BTUs per square foot. Factor in barn-specific loads: frequent door opening, welders, air compressors and whether people work inside for hours.
For a well-insulated 30×40 pole barn with 12 ft ceilings in East Tennessee, I'd guess cooling capacity around 24,000–30,000 BTU, and more if doors stay open or insulation is weak. Picking the correct unit size ensures efficient cooling and heating, which varies based on insulation and air leakage. Avoid jumping two or three sizes up-wildly oversized units short-cycle and do a poor job dehumidifying in our summer humidity.
Barns around 3,000–4,000 sq ft, or long narrow layouts, are better served by two or more single-zone systems. Have an HVAC pro verify the load for anything over about 2,000 sq ft. Professional installation ensures proper sizing and best performance.
Step 3: Choose the Right Mini Split Equipment
Picking the right unit matters as much as sizing. In areas with winter lows in the teens, which is common around Knoxville and much of Ohio, a cold-climate heat pump rated to at least 5°F is worth the extra cost for reliable heating performance.
Check efficiency ratings (SEER2, HSPF2) and balance long-term power savings against upfront cost, especially if you use the barn daily. Many 18k–36k BTU barn-sized units need 208/230V electrical supply, while smaller 9k–12k heads can sometimes run on 120V. Check your pole barn panel for how much capacity is available.
Indoor unit style options include wall-mounted high on a framed wall, ceiling cassette between trusses in a finished building, or floor-mount heads, though dust and debris are worse near the floor in barns. For the outdoor unit, look for corrosion-resistant coatings and leaf guards, especially in high-precipitation areas where outdoor units stay damp much of the year. Stick with brands that have local parts and service support rather than going after the cheapest online-only units. Barn environments are harder on equipment, and a recommendation from a local supplier beats five-star reviews from people in ideal climates.
Step 4: Prepare the Pole Barn for Installation
An hour or two of prep inside the pole barn saves real headaches later. Clear the work area and lay down drop cloths.
Pick the indoor head location: a central inside wall with clear airflow across the main working area, away from the direct hit of big barn doors. Indoor air handler placement should ensure clear air circulation throughout the work area. Don't mount the indoor unit directly to thin metal siding without extra structural support. Add wood blocking behind the post or girt so the bracket has something solid to grab.
Plan condensate drainage: gravity drain through the wall is ideal, but use a condensate pump if the drain has to run uphill. Mark where the line set, control wire and drain will go through the wall, keeping the hole a bit higher inside so the lines slope gently down outdoors. The proper angle for wall penetration helps water drain effectively and keeps rain from running in.
In a rainy climate like Knoxville, where July can see over 5.25 inches of rain, use UV-stable line set covers and quality exterior sealant around penetrations.
Step 5: Mount the Units
This is the hands-on part you're happy to tackle. Careful leveling and anchoring protect the equipment for the next 10–15 years.
Mini splits need mounting indoor units on walls or ceilings. Mount the metal bracket level on solid framing with lag bolts, following the manufacturer's clearance specs above, below and to the sides. Installation needs a small hole, often 2–3 inches, for refrigerant lines and wiring. Drill it slightly sloped downward toward the outside and de-burr the opening to protect line insulation. Feed the refrigerant lines, control cable and drain line through gently as you hook the indoor unit onto the bracket.
Outdoor units must be mounted on a concrete pad or anchored to structural framing. Choose a place with clearance around the outdoor unit, which is essential for proper airflow, at least a few feet from walls, away from gutter downspouts and roof runoff. With Knoxville's frequent heavy rains, the pad should sit high enough that standing water never reaches the unit base. Use rubber isolation pads to keep vibration noise from traveling through the barn structure.
Step 6: Run Line Sets, Wiring and Condensate Drain
This step routes and protects the guts of the system. Refrigerant lines should be protected from kinks and sharp bends during installation. Uncoil the pre-flared line set carefully, keeping bends large and leave a service loop near both units for future maintenance.
Bundle lines and control cables and run them in tidy, straight paths along the barn wall under line set covers. Condensate drains must maintain a continuous downward slope to operate properly, secured every couple of feet, terminating where water drains safely away from the slab and doors to avoid algae and ice buildup.
A dedicated electrical circuit is usually needed for mini-split systems. Run a dedicated circuit from the barn's subpanel to a weatherproof disconnect near the outdoor unit, with wire size and breaker rating matching the nameplate MCA and MOCP. Starting September 2026, ground-fault protection is required on outdoor outlets feeding HVAC equipment in areas that enforce updated NEC codes. If you're not comfortable with 240V work, hire a licensed electrician for panel connections and the disconnect. The outdoor unit must be properly grounded and bonded to the building's grounding system.
Step 7: Vacuum, Charge, Test and Fine-Tune
This is where many DIYers call in an HVAC tech. I'd say that's the simple, smart move. Pressure testing and evacuation are crucial for identifying leaks and ensuring system integrity before operation. Once line connections are tightened to the manufacturer's torque specs, the system needs to be evacuated with a vacuum pump and gauge set to remove air and moisture.
Many factory line lengths come pre-charged to a certain distance. If your pole barn run is longer, additional refrigerant must be added by weight by a pro. After startup, verify indoor fan operation, outdoor unit startup and correct reactions to heating and cooling commands. Adjust airflow direction so conditioned air moves across the work area instead of blowing straight onto an overhead door where it's wasted.
For a comfortable working shop, many people in Knoxville are happy around 72–75°F for cooling and 60–65°F for heating. I recommend scheduling a pro checkup the first season if you did much of the install yourself. Confirm charge, wiring and performance before heavy summer or winter use.
Mini Split Maintenance in Dusty Pole Barns
-
Filters: Clean monthly during peak use, and clean every two weeks in a woodworking or auto shop.
-
Indoor coils: Deeper cleaning every 1–2 years. Well-insulated barns reduce constant running of AC units, which also means less buildup.
FAQ
Can one mini split handle a 4,000 sq ft pole barn?
Usually not evenly, especially with 12–16 ft ceilings. Most setups that size use multiple indoor units or a multi-zone system, usually two or more 24k–36k BTU units zoned by area and use. At 4,000 sq ft total, a well-insulated barn of a smaller size can handle a 4,000 BTU load per zone efficiently, but get a professional load calculation to avoid cold or hot spots and spending too much on energy.
Is DIY mini split install realistic in a pole barn?
You can DIY the carpentry, mounting and running the lines. You need safe ladder work, basic carpentry, the ability to drill through metal or structural walls, and the patience to follow the manufacturer's manual closely. Most people hire a licensed electrician for the 240V wiring and an HVAC tech for vacuuming and charging. Mistakes on those steps are expensive or dangerous, so hire out any part that feels over your head.
How does Knoxville's climate affect a pole barn mini split installation?
With almost 52 inches of rain a year and July as the rainiest month, installers should place outdoor units on raised pads and keep them clear of standing water and roof runoff. High humidity makes good dehumidification and steady run times important. Slightly less oversizing and good fan settings help keep barns dry and comfortable. Mild but humid in-between seasons mean the system often runs in dry or low-cool modes, so choose a model with strong humidity control for our East Tennessee area.
What electrical service for a pole barn mini split?
Many barn-sized mini splits in the 18k–36k BTU range draw 15–30 amps at 240V. A 60–100 amp subpanel is usually installed for a shop that also runs tools. Check the nameplate MCA and MOCP of your chosen unit and have an electrician confirm your panel and wiring are enough. If you're planning future upgrades like welders, EV chargers or more mini splits, it's cheaper to make the barn subpanel bigger once rather than upgrade it multiple times. Feel free to drop your questions in the comments or send me an email.