How to Mount a Mini Split on a Brick Wall (Without Damage)
Mounting a mini split on a brick wall is one of those jobs that looks simple until you're staring at a cracked brick and a crooked bracket. I install these systems on brick houses around Knoxville, Farragut, Maryville, and Oak Ridge regularly, and the process is straightforward if you respect what that brick wall actually is - and what it isn't.
Updated
Key Takeaways
-
Never bolt a mini split bracket right to the brick veneer. The fasteners have to go through the veneer and anchor into the structural framing behind it.
-
This job is easy for a careful DIYer, but the electrical portion and refrigerant work are best handled by licensed pros.
-
Knox County code bans attaching boards to brick, stone or veneer - the same logic applies to condenser brackets. Lag screws or through-bolts have to grab solid framing.
-
Brick ties and weep holes can't be blocked or damaged during the install.
-
Plan out the complete layout before you drill a single hole.
How to Mount a Mini Split on Brick
A mini split is an outdoor condenser connected to an indoor air handler by a refrigerant line set, control cable and condensate drain. When that indoor unit sits on an exterior wall, you're drilling through brick to run those lines - and that's where things get interesting.
Most Knox County homes built after the 1970s use brick veneer, not solid masonry. That means a single layer of brick sits on the house as a rain screen, tied to the wood-framed wall behind it. It's not structure. It's got 3/16-inch weep holes spaced no more than 33 inches apart, and brick ties no more than 32 inches horizontally and 24 inches vertically. If you block or cover those, moisture gets trapped. If you're talking about a DIY project, you need to be comfortable with a hammer drill, a masonry bit and a level before you start.
Planning the Brick Wall Mount Location
Good planning prevents water problems and broken brick. Before you drill, you can run through these details:
-
Indoor placement: Pick a wall with room for airflow. Do not blow directly onto a bed or sofa. Mount the unit 7–8 feet off the finished floor inside.
-
Obstructions: Check both sides of the wall for outlets, plumbing, gas lines, hose bibs and weep holes. If you see a deck ledger screwed into the brick below your planned location, that is a red flag - Knox County's DCA-6 bans attaching ledgers to brick veneer, and that install was done wrong.
-
Find the framing: Use a stud finder inside, measure from corners, then transfer those marks to the exterior brick wall so your fasteners hit studs or the band joist.
Avoid landing bolts near brick ties, and when possible, drill through mortar joints rather than through the face of a brick. Mortar is easier to patch and less likely to cause problems like peeling across the brick face.
Tools, Materials and Safety for Brick Mini Split Mounts
You can keep this gear list short and real:
-
Tools: Hammer drill, masonry bits (pilot and core size), level, tape measure, impact driver, vacuum or blower for dust
-
Hardware: Manufacturer's steel wall bracket, stainless or hot-dipped galvanized sleeve bolts or through-bolts, washers, exterior-grade polyurethane sealant
-
PPE: Eye protection, hearing protection, dust mask or mask, gloves
For veneer walls, fasteners have to reach through brick and sheathing into solid framing. Don't trust the veneer alone - it'll hold for a while, then fail. The electrical circuit - usually a dedicated 240V line with a disconnect - should be run by a licensed electrician to meet NEC and local code.
Mounting the Indoor Unit on Brick
This section covers the actual sequence: hanging the bracket, drilling through the brick wall, and running lines safely.
-
Mark and level the mounting plate on the inside wall. Hit at least two studs. A plate that is not perfectly level will cause condensate to pool and leak instead of draining to the hose.
-
Drill the penetration hole from the inside out. Step through drywall and sheathing first with a standard hole saw, then switch to a masonry bit when you contact brick. Use steady, light pressure - going too fast blows out the exterior brick face. The hole size is usually 2.5–3 inches, which is big enough to clear the line set group.
-
Slope the hole slightly downward toward the exterior so condensate drains out, not back into the wall. Manufacturers generally call for about 5–10 mm drop on the exterior end.
-
Dry-fit and group the line set, condensate hose, and control cable. You can wrap them with insulation tape, then push the group through the opening. Install a PVC sleeve to protect lines from sharp brick edges.
-
Hang the indoor unit on its bracket - it should lift, hook and snap securely along the entire top rail. Verify the condensate hose is not kinked.
-
Seal around the sleeve on both sides with exterior-grade sealant. Don't plug weep holes below the penetration.
Fastening the Outdoor Unit to Brick
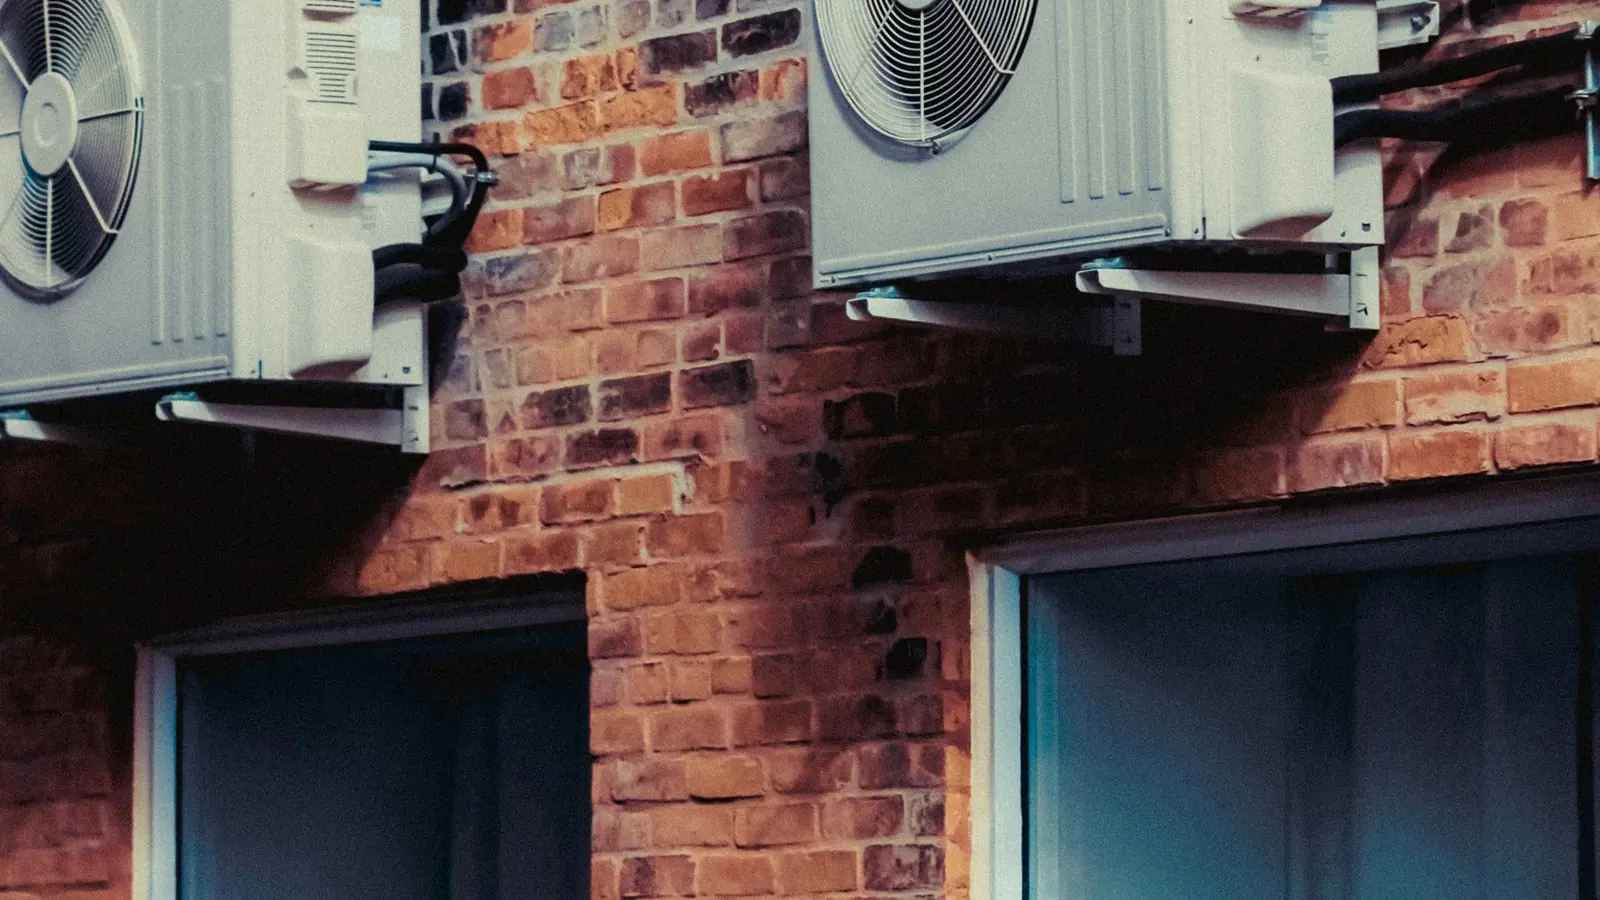
This is where a lot of you go wrong. The outdoor condenser can weigh 80–120 pounds, and brick veneer alone will not hold it long term.
Two common approaches:
-
Wall bracket through veneer into framing. Use the manufacturer's pattern, mark bolt locations over studs or the band joist, and keep a couple of inches clear of mortar joints and weep holes. Drill bolt holes with a hammer drill and masonry bit sized to your specific bolt. Clean each hole with compressed air before putting in sleeve anchors. Tighten gradually - over-torquing cracks brick.
-
Ground pad or concrete slab. Set the condenser on a level pad that is at least 12–18 inches above grade. You only need small holes in the brick for line set covers, not heavy bracket bolts. This is often the smarter move if you cannot confirm solid framing behind the veneer, or if the brick is in rough shape.
Knox County's deck ledger rules are a useful reminder here: 1/2-inch lag screws or through-bolts at 30 inches on center for short lengths, never into veneer alone. Your condenser bracket fasteners need the same respect - they have to bite solid structure.
Place rubber isolation pads between the unit feet and the bracket or pad to cool vibration transfer into the wall. Check manufacturer clearances for airflow on all sides. Weatherproof every penetration, maintain weep hole drainage and don't mount on loose or damaged brick.
FAQ About Mounting Mini Splits on Brick
Can I mount a mini split directly into solid masonry instead of veneer?
Yes. True solid brick or concrete block walls can carry more load than veneer. You will still need properly sized masonry bolts, correct edge distances so you do not crack the brick, and corrosion-resistant hardware. Confirm your wall type first - look for header bricks or measure wall thickness at a window opening. Solid masonry is usually 8 inches or thicker.
Will mounting a mini split on a brick wall make my house noisier inside?
It can if the bracket is not installed correctly. Vibration travels through the wall, but rubber isolation pads and proper torque on bolts dramatically reduce it. In my Knoxville installs, poorly fitted brackets cause more noise than the units themselves. Share the load across multiple fasteners and the problem mostly goes away.
What if my brick is already cracking or flaking where I want to mount the unit?
Deteriorated brick is a warning sign of moisture or structural issues. Do not drill more holes into it. You can move the unit to sound brick or a ground pad, or bring in a bricklayer to help assess and repair the wall first. Ignoring crumbling brick and bolting through it anyway is asking for a bracket that pulls out over a long winter.
Do I need a permit to install a mini split on an exterior brick wall?
In Knox County and most East Tennessee jurisdictions, yes. Mechanical and electrical permits are required for HVAC and wiring work. Skipping permits can cause problems when you sell the house or if an inspector flags unpermitted work. Check with your local building department or hire a licensed contractor for the permit-required portions.
Can I run mini split lines down the face of the brick wall without a cover?
Technically possible, but I would avoid it. UV exposure will degrade line set insulation fast. Weather and pests - woodpeckers are real around here - will damage exposed lines. A line set cover keeps things clean, protected and looking a lot better against your brick for the long run.