How Hard Is It to Install a Mini Split? (A Knoxville Builder Answers)
How hard is it to install a mini split? I'm a builder in Knoxville, and I get some version of this question almost every week. The short answer is that it depends on the job, but even a basic install is harder than you might expect when you first look into it.
Updated
Key Takeaways
-
Putting in a ductless mini split air conditioning system is pretty hard. It is about a 5/10 for a simple single zone exterior wall install, and it can run up to 8 or 9/10 for multi zone systems with long line runs.
-
A handy homeowner can handle mounting, drilling and running lines, but you should hire out the electrical wiring and refrigerant work so you stay legal, safe and warranty-compliant.
-
DIY mini split installation can save you $1,000 to $3,000, but mistakes in drainage, electrical connections or refrigerant handling can void your warranty, spike your energy bills and cost more to fix than you saved.
-
Installation costs range from $2,000 to $12,000 in 2026 depending on system size, number of zones and how complex the job is.
-
Local building codes differ: homes inside Knoxville city limits follow the 2024 IRC, while rural Knox County and Farragut still use the 2018 IRC. That affects permits, inspections and what work a DIYer can handle.
How Hard Is It to Install a Mini Split?
Here is how I would rate the difficulty on a 1 to 10 scale:
| Scenario | Difficulty |
|---|---|
| Single zone, exterior wall, short line set, pre-charged kit | 5/10 |
| Single zone, interior wall, line set through attic or crawl space | 6–7/10 |
| Multi zone (2–3 heads), long runs, panel work | 8–9/10 |
| 4+ heads, finished walls, electrical upgrades, complex charge | 9–10/10 |
Pre-charged DIY kits simplify mini split installations for homeowners, but even with one of those, you're still dealing with multiple skill buckets: carpentry for secure mounting of the indoor plate, drilling through exterior walls, running electrical wiring for a dedicated circuit, basic plumbing for the drain, and specialized HVAC tasks like pulling a vacuum on the lines.
In Tennessee, most manufacturers and many inspectors expect refrigerant work and final system start to be done by an EPA Section 608–certified technician. It is illegal under federal law to handle refrigerants without certification, so that is non-negotiable regardless of how handy you are.
What a Mini Split Installation Actually Involves
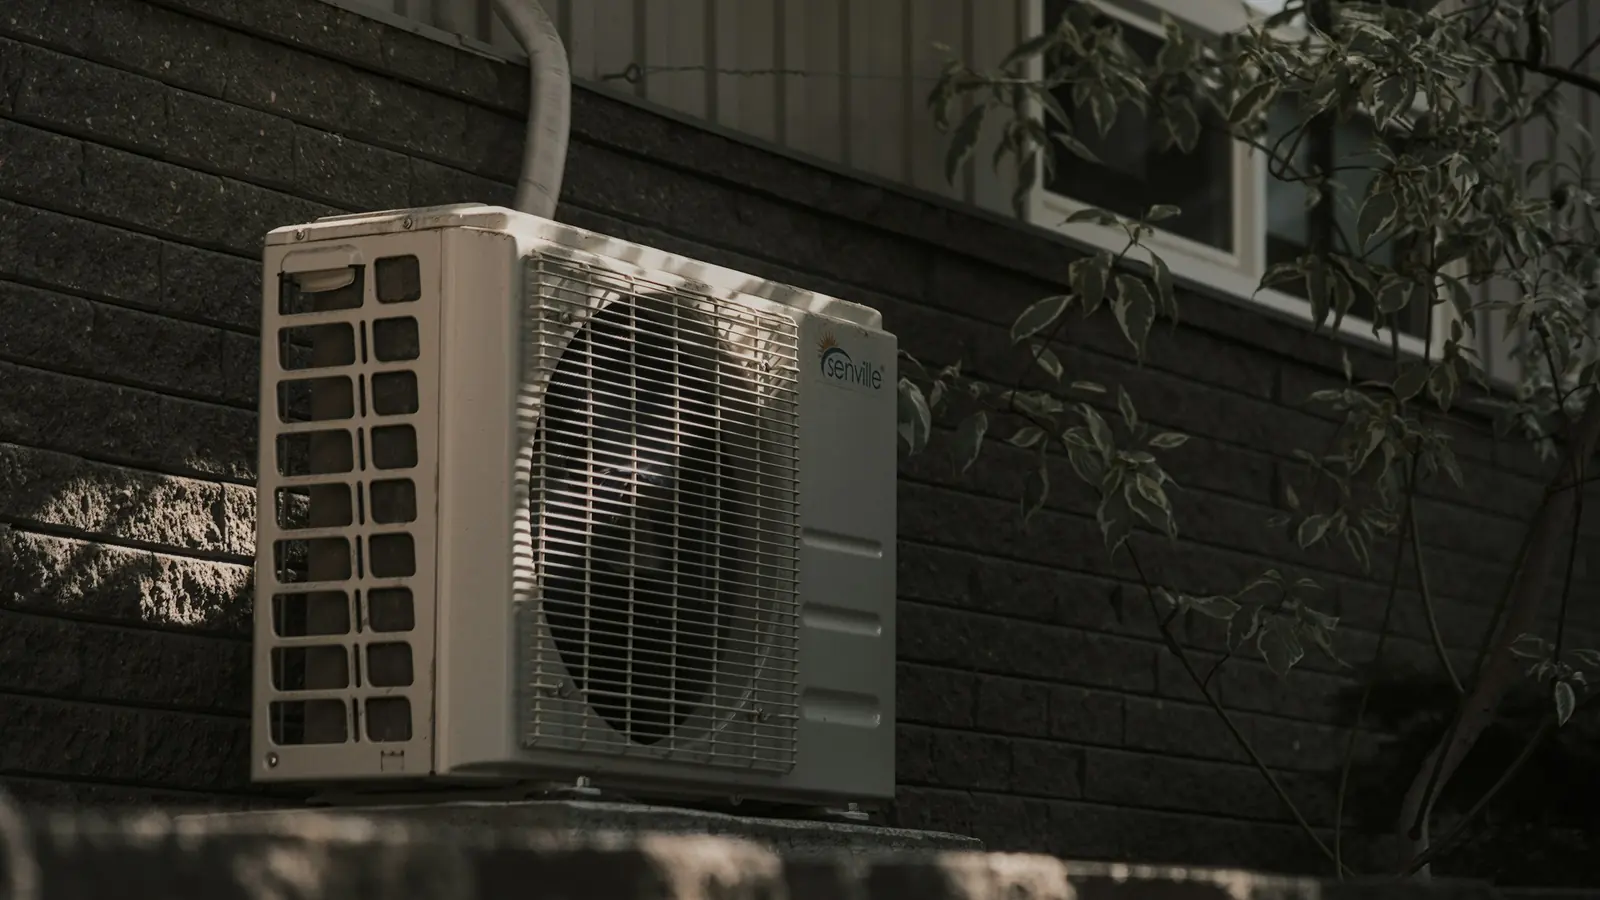
A ductless mini split system has five core components: an indoor air handler (the "head"), an outdoor condenser, a line set that contains refrigerant lines plus communication wire, a condensate drain line and a power supply, usually a dedicated 220V or 240V circuit.
The major phases of the installation process are these:
-
Planning and sizing the right unit
-
The indoor unit and indoor plate are mounted
-
Putting the outdoor unit on a pad or bracket
-
Drilling the hole through the wall (a typical mini-split needs an opening that is 2 to 3 inches)
-
Routing the line set and drain
-
You have to make the electrical connections and install a disconnect
-
Evacuating, pressure testing and charging the system
-
System startup and testing
Each phase has its own failure points. A drain line with poor slope causes water damage months later, and an over-tightened flare nut on the refrigerant lines leaks without making a sound. Mini-split air conditioning systems need proper condensate drainage to prevent leaks. That is something that is easy to get wrong and expensive to fix after the fact.
Planning, Sizing and Local Code
Planning is where the thinking work happens, and it directly affects difficulty and cost. Proper sizing of mini-split systems is crucial to avoid inefficiency-too small and the unit runs nonstop, too large and it short-cycles, never properly dehumidifying in our Knoxville summers.
For indoor location, indoor air handlers need proper clearance for good airflow. Indoor units should be mounted about 7 feet from the floor with a few inches of clearance on the sides and top. Mounting on an exterior wall is easier because the line set goes straight through. Interior walls mean longer runs between indoor and outdoor units, which require routing extra lines through attics, crawl spaces or finished ceilings.
For the outdoor unit, place it on a level pad or wall brackets with clear airflow on all sides. Outdoor units should be placed 8 inches above the highest snowfall level to keep airflow unrestricted during winter.
Here's the local code nuance that matters: a house in Knoxville city limits is built to the 2024 IRC while one a few miles out in unincorporated Knox County or in Farragut is still built to the 2018 IRC. The 2024 code generally imposes stricter energy requirements, tighter electrical standards and more rigorous inspection expectations. Knox County's 2018 IRC amendments dropped blower-door and duct-leakage testing, removed mandatory whole-house mechanical ventilation, and dropped the programmable-thermostat requirement-which makes mini split inspections somewhat simpler in those areas.
Tools and Skills You Need Before Starting
Carpentry and drilling tools: level, stud finder, impact driver, masonry bit or core bit for the wall penetration. Drilling through standard wood-frame drywall is relatively simple, but brick or concrete exteriors require more effort and different bits.
HVAC-specific required tools: a torque wrench for flare fittings (over-tightening or under-tightening flare nuts causes leaks), a vacuum pump, micron gauge, manifold set and nitrogen for pressure testing. Handling refrigerant safely requires specialized tools that most homeowners don't have sitting in the garage.
Electrical tools and materials: multimeter, wire stripper, appropriate gauge wire (10/2 or 12/2 depending on the mini split heat pump or mini split air conditioner load), a disconnect box, and proper connectors. Electrical requirements typically involve a dedicated 220V or 240V circuit.
If you're missing more than one category of tool or skill-say you've never used a vacuum pump and you're not confident reading a wiring diagram-this project is on the hard side. Strongly consider hiring out the tough pieces.
Step-by-Step Difficulty From Mounting the Indoor Plate to Final Startup
Mounting the indoor plate. Find studs, level the plate, use lag screws and leave a clear path for the line set. Easy to medium. It is critical for long-term stability and secure mounting.
Drilling the wall penetration. Drill a 2.5-inch hole for refrigerant and electrical lines, with a slight downward tilt toward the exterior so water drains out, not in. Check carefully for hidden wiring and plumbing before you drill. Medium.
Setting the outdoor unit. Pour or set a composite pad, or anchor wall brackets to brick or framing. Level it carefully and add vibration isolation. Medium in labor, easy in concept.
Running the line set and drain. Maintain gentle curves, protect insulation and preserve a consistent downward slope on the condensate drain. Drainage mistakes don't show up until months later as leaks or mold inside your walls. Medium to hard.
Mechanical connections on refrigerant lines. Align flare fittings and use a torque wrench to manufacturer specs. This is where you can cause leaks. Refrigerant handling errors can lead to system failure. Hard. Many homeowners hire this part out.
Electrical connections. You need to pull a new circuit from the panel if you need one, install a disconnect near the outdoor unit, and make low-voltage control connections between indoor and outdoor units. Electrical mistakes can lead to fires or personal injury. Hard.
Evacuation and startup. Pull a vacuum to the specified micron reading, perform a pressure check using nitrogen up to 500 psi, open service valves and verify mode changes and line temperatures. Pro-level. I recommend a qualified HVAC professional or licensed HVAC contractor for this every time.
When DIY Mini Split Installation Makes Sense
Good DIY candidates: A single zone ductless mini split on an exterior wall with a short line set, easy panel access and if you're comfortable with moderate carpentry and light electrical work under permit. It's great for heating and cooling one room or a room addition like a bonus room over a garage.
Borderline: Adding a mini split heat pump to a detached garage, which means you need a conduit trench, or working two stories up on a ladder. The potential risks can start to be more than the savings.
Do not DIY: Multi zone ductless mini split systems with three or more indoor units, long line sets through finished walls, complicated electrical upgrades or jobs in tightly enforced areas like Knoxville city limits. Many states need licensed technicians for mini-split installation, and inspectors in stricter areas will hold you to every detail.
Most manufacturers need professional installation for warranty coverage. Even brands that sell "DIY-friendly" kits often need a licensed HVAC professional to handle refrigerant work and system startup for the warranty protection to stay valid. Improper installation can void the manufacturer's warranty completely.
The hybrid approach works well: Handle the physical mounting, wall penetration and line routing yourself, then pay a local HVAC company to complete the electrical connections, vacuum and commissioning.
Safety, Permits and Code
The hardest part of installing a mini split isn't hanging the head unit-it's staying safe, legal and code-compliant.
Common electrical hazards include working in a live panel, mis-sizing breakers or wire gauge, and skipping a disconnect. Professional installation ensures compliance with local building codes and avoids denied insurance claims down the road. Licensed professionals handle refrigerants safely to avoid environmental and health hazards, and regulations restrict who can purchase and handle certain refrigerants.
Mini-split installations often require HVAC or electrical permits. In the Knoxville area, you'll need at least an electrical permit for a new 240-volt circuit and usually a mechanical permit for the HVAC appliance. Additional costs may include electrical upgrades and permits-budget $35–$75 for electrical and $75–$250 for mechanical in Knoxville.
Time, Cost and Hiring a Pro
A first-time DIY mini split installation is a project that takes a full weekend, not an afternoon job. Professional installation usually takes 4 to 8 hours for single-zone systems. Multi-zone installations may take 1 to 2 days depending on how complex the job is.
Here is a cost comparison that uses 2026 East Tennessee pricing:
| Scenario | DIY Cost | Pro Installed Cost |
|---|---|---|
| Single zone (12–18k BTU), exterior wall | $2,000–$4,000 | $4,000–$7,000 |
| Two-zone, mid-length line runs | $5,000–$9,000 | $7,500–$12,000 |
| Multi zone (3–4 heads), premium brand | Often $10,000+ | $12,000–$20,000 |
Professional mini split installation typically costs $2,000 to $10,500 depending on system size, unit size, and complexity. Costs DIYers forget: vacuum pump rental, line hide covers, pad or brackets, and possible panel upgrades.
Hiring a reputable local installer usually includes system registration, warranty paperwork and a clean commissioning report. For you, that peace of mind may be worth the extra money.
Comfort, Efficiency and Long-Term Performance Risks
SEER2 and HSPF ratings that make a mini split heat pump attractive are achieved only with correct refrigerant charge, proper airflow and tight installation details. Sloppy work can wipe out the energy efficiency advantage compared to traditional HVAC systems. Poor sizing or bad placement leads to hot and cold spots, short cycling and excessive noise across multiple rooms.
FAQ
Is a Mini Split Harder to Install Than a Window AC?
Much more involved. A window AC is a plug-in appliance that you set in a window opening. A mini split is closer to a small built-in HVAC system: you're running new electrical wiring, drilling a large hole through the wall, hanging a permanent indoor unit, setting an outdoor condenser and dealing with vacuum pumps and refrigerant lines. It is subject to permits and safety codes that a window unit never sets off.
Do you always need a permit to install a mini split in Knoxville or Knox County?
Most jurisdictions require at least an electrical permit for a new 240-volt circuit and often a mechanical permit for a new HVAC appliance. Requirements differ between Knoxville city, Farragut and Knox County. They've changed with the 2018 vs. 2024 IRC adoption. Call your local building department before starting.
How Long Should a Mini Split Last?
A well-installed ductless mini split system in East Tennessee usually lasts 10 to 15 years or more with regular maintenance, including filter cleaning, coil washing and occasional tune-ups by professional installers. Poor installation, especially ongoing refrigerant leaks or drainage issues, can cut that lifespan in half. That is another reason the quality of your installation and a successful installation really matter for long term performance.