How to Install a Mini Split Yourself: A Builder's Step-by-Step Guide
How to install a mini split yourself is a question I get often as a builder in Knoxville who installs ductless mini split systems on remodels and additions on a regular basis. I'll walk you through what it actually takes, where you can save money, and exactly where you should stop and call in a pro.
Updated
Key Takeaways
-
A DIY mini split installation is something a careful homeowner can do, but electrical connections and refrigerant handling are where most DIYers in Knoxville and surrounding areas should bring in a licensed HVAC professional or licensed electrician.
-
Picking the best locations for the indoor air handler and mini split outdoor unit is something that matters more for comfort and energy efficiency than most people expect.
-
Knoxville, Farragut, Oak Ridge and unincorporated Knox County all follow local building codes that are based on the 2018 IRC. Bad electrical work can fail inspection or void warranties.
-
Common mistakes-kinked copper refrigerant lines, bad drain slope, skipped vacuuming, undersized circuits-can cut efficiency by 30% from day one, wiping out any savings.
-
A pre charged line set DIY mini split kit is very different from a traditional ductless mini split system that legally requires EPA-certified refrigerant handling.
How a DIY Mini Split Install Works
Here's the short version of the installation process: you choose and size a ductless mini split heat pump, pick the best location for indoor and outdoor units, mount the indoor unit, drill through the wall and run the line set and drain hose, set the outdoor unit on a level surface, make electrical connections, evacuate and release refrigerant, then test.
What "DIY mini split installation" usually means in 2026 is one of two things. Either you buy a true DIY kit with pre-charged lines (like MrCool or Zone Air) where no vacuum pump or refrigerant license is needed, or you do the carpentry and mounting yourself while a licensed HVAC professional handles the vacuum and charge on a standard system. Pre-charged DIY kits make the installation process simpler by skipping traditional refrigerant handling completely.
A DIY mini split can be installed in 4 to 8 hours, but be realistic: a careful first-timer should plan for a project that takes 1–2 days on a single zone system. A MrCool DIY mini split can be installed in a weekend if you are realistic about it. This is not a "2 hours after dinner" job. DIY installation can save hundreds of dollars in labor costs, but only if you do it right.
Is DIY Mini Split Installation Right for You?
This section is about honesty. DIY installation allows control over unit placement for optimal airflow and lets you work at your own pace, but not every homeowner should tackle every step.
Skills you need: drilling clean holes through exterior walls, basic framing knowledge, reading electrical wiring diagrams, safely shutting off and verifying power, and using a level and torque wrench. If you're comfortable with those, the carpentry side of a diy mini split is well within reach. Installing a mini split yourself can be time-efficient and flexible compared to scheduling contractors.
What you legally should not DIY: Opening a refrigerant circuit or charging a non-DIY-kit system requires EPA Section 608 certification. That's federal law, not a suggestion.
Around Knoxville, Farragut, Maryville and Oak Ridge, local enforcement runs on 2018 IRC and IECC standards. Separate electrical permits and inspections are typically required when you add a new dedicated circuit. Tennessee's State Fire Marshal enforces the 2018 International Residential Code for one- and two-family homes, but only in areas that don't run their own code program-Knox County, Knoxville, Farragut and Oak Ridge all enforce their own.
Good DIY candidates: a single-room office, one room garage workshop, bonus room or finished basement. Bad candidates: a multi zone system serving your whole house, long line runs across multiple stories, or tricky historic exteriors. The most realistic approach for most DIYers is hybrid: do the mounting, drilling and carpentry yourself, then have a licensed electrician handle the panel and electrical work, and an HVAC tech handle vacuuming and refrigerant release if the kit isn't pre-charged.
Planning Your System Size, Location and Layout
Planning is where you lock in comfort and energy savings. Careful planning here can't be fixed with fancy settings later. Improper sizing can lead to a system that runs poorly, short cycles and wears out too soon.
Rough sizing: A mini split system must match the room's square footage. The rule of thumb is 20–25 BTU per square foot, but insulation quality, ceiling height, sun exposure and window area matter more than the simple rule. For example, a 12×20 (240 sq ft) Knoxville office with average insulation and 8-foot ceilings usually needs a single zone ductless mini split with 9,000–12,000 BTU. A 12,000 BTU unit has enough power to cool up to 500 square feet. So how big does the unit need to be? That depends on the square footage and insulation of the room. Proper sizing shapes comfort and performance. Mini-splits are more efficient when they are properly sized for the room and climate conditions.
For the indoor unit layout, plan to mount high on an inside or outside wall with clear throw across the room, away from direct sunlight and heat sources. Don't point it directly at your desk or bed. For the outdoor unit, aim for a short, straight line set path. In East Tennessee's clay soil and uneven yards, a wall bracket or well-compacted gravel pad usually beats setting a condenser right on bare ground.
Parts of a Ductless Mini Split System
Knowing what each part does makes the step-by-step less intimidating.
-
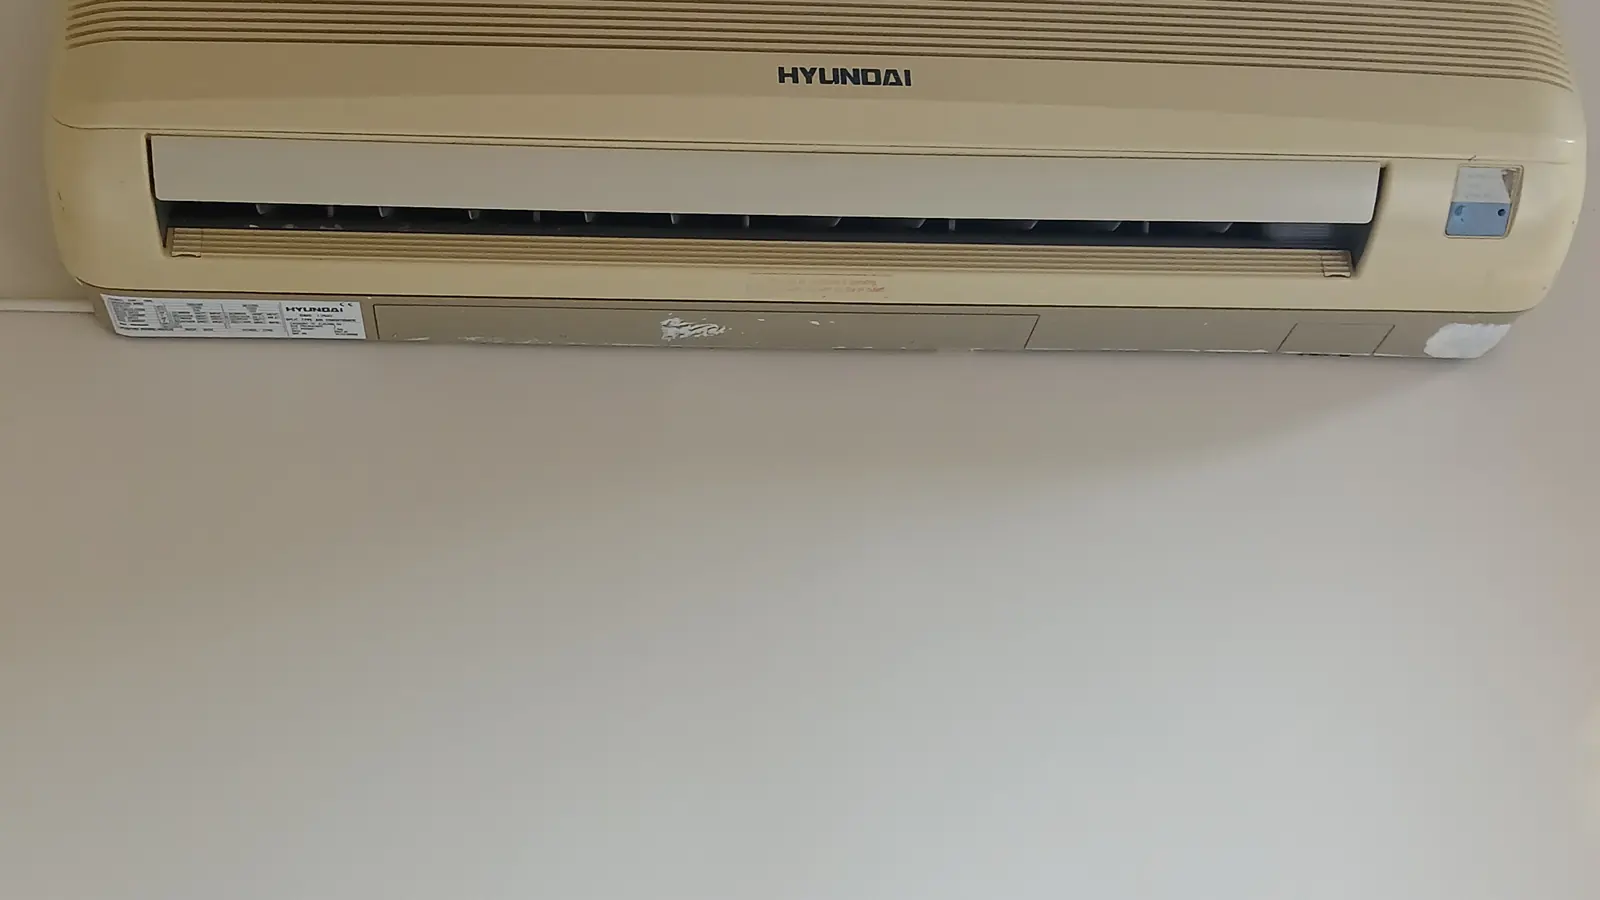
Indoor unit / indoor air handler: This is the part that contains the fan, evaporator coil, built-in filter and control board. A wall-mount is the most common type, though there are also ceiling cassettes and floor consoles for larger spaces.
-
Outdoor unit / outdoor condenser: Houses the compressor, condenser coil, fan, service valves and electrical panel. This is where most noise and weather exposure lives. One outdoor unit runs the system.
-
Line set: This is two insulated copper refrigerant lines (liquid and suction), control wiring, and the condensate drain line, often put together in a sleeve or plastic cover. This is the refrigerant piping that connects the indoor and outdoor units.
-
Pre-charged vs. field-flared: A pre charged line set (typical of MrCool-style DIY mini splits) arrives sealed and has a factory charge. Standard field-flared line sets must be evacuated with a vacuum pump and charged by an HVAC pro.
-
Controls: Thermostats are built into each indoor unit with a handheld remote and often Wi-Fi. In a multi zone mini split with multiple indoor units, each zone runs on its own from one outdoor unit.
Tools and Materials for DIY Mini Split
No fluff-here's your checklist. The tools you need for installation include a drill, level, stud finder and vacuum pump.
Core hand tools:
-
Drill/driver (you need a drill for mini split installation)
-
2½–3½ inch hole saw (use a 2 to 3-inch hole saw to drill wall openings)
-
Level, stud finder, tape measure
-
Screwdrivers, nut drivers, adjustable wrenches
-
Torque wrench for flare fittings (you will need a torque wrench for refrigerant connections)
HVAC-specific (non-pre-charged systems):
-
Vacuum pump-essential to remove air and moisture from the lines
-
Manifold gauge set (needed for refrigerant line connections)
-
Micron gauge
This is the point where most DIYers choose to bring in a tech instead of buying $1,000+ in specialty tools for a one-time diy project.
Electrical tools: Non-contact voltage tester, wire strippers, outdoor-rated cable, conduit or whip, appropriately sized breaker. Check your local electrical code before touching any of this.
Materials: Wall mounting bracket, outdoor condenser pad or wall bracket, line set kit, condensate drain hose, UV-rated line set cover, silicone caulk, spray foam for sealing gaps, and pipe insulation rated for exterior use. A pipe cutter may be needed if you are cutting copper lines.
Best Locations for Indoor and Outdoor Units
This is where comfort, noise and code issues all meet. Getting the best locations right keeps you from having 90% of the regrets I see on jobs.
Indoor unit placement:
-
Indoor units should be mounted at least 6 inches from the ceiling for proper airflow
-
Choose a location that has ample airflow-clear space left and right for air circulation and service access
-
Avoid corners that trap conditioned air, mounting over shelving that blocks return air, and blasting directly at a bed or workbench
-
Keep away from big TVs or electronics that throw heat, and away from direct sunlight through windows
Outdoor unit placement:
-
Outdoor units must be placed on a stable, level surface to minimize vibration and noise
-
Maintain enough clearance: 12–24 inches rear/side, several feet in front for airflow
-
Keep away from dryer vents, gas meters and locations where snow, leaves and weeds constantly clog the coil
-
Don't set a condenser outside a bedroom window or next to a neighbor's patio
In East Tennessee, keep outdoor units elevated enough to clear typical snow and leaf accumulation and to avoid weed-trimmer damage.
Mounting the Indoor Unit and Drilling the Wall
This is the part you can handle with basic carpentry skills. Accuracy here matters for proper drainage and avoiding wall damage.
Locate studs (16 or 24 inches on center) and mount the indoor bracket perfectly level and solid using lag screws into studs. Mount the indoor unit securely to a level wall bracket. Use the template or bracket to mark the center of the line set hole, and check that no plumbing, wiring or structural members are in the path.
Drill a 2 to 3-inch hole for the line set and drainage. The hole for refrigerant lines must slope slightly downward toward the outside for proper drainage. Drilling the drain path at the wrong angle leads to water backup inside your wall-I've seen this plenty of times.
Install a wall sleeve or PVC chase through the wall, then seal around it with silicone outside and a little spray foam inside. Sealing wall penetrations prevents air leaks and protects against pests. Don't overdo the foam-you can bow drywall.
Carefully bend and route the line set, control wires and drain hose through the hole without kinking the copper or forcing a sharp turn. Copper refrigerant lines should not be kinked or sharply bent during installation.
Setting the Outdoor Unit and Running the Line Set
The outdoor side is where weather, vibration and code clearances come into play.
Pad options for East Tennessee: | Option | Pros | Cons | |---|---|---| | Pre-cast concrete on compacted gravel | Drains well, reduces frost heave | Needs grading | | Poured pad | Permanent, very stable | Cost, cure time | | Wall bracket | Clears flooding, lawn care | Harder to install, higher cost |
Level the condenser and use rubber isolation pads to reduce vibration noise transmitted into the house. Run the line set from the indoor unit to the outdoor unit keeping bends large-radius and avoiding sharp kinks. Connect refrigerant lines tightly to avoid leaks during installation. Insulating refrigerant tubing protects against energy loss and damage from UV light-secure lines neatly to the wall with UV-rated covers.
Ensure proper drainage on the drain line: continuous downward slope, no traps and an outlet where dripping won't rot a sill plate or create ice on walkways. Keep total line set length and vertical separation within the manufacturer's limits-exceeding factory-charged lengths needs additional refrigerant added by a pro.
Electrical Connections and Code Considerations
Electrical connections are where DIY mini split projects in Knoxville and nearby jurisdictions most often run into code problems or fail inspections.
Most ductless mini split systems require a dedicated circuit-typically higher voltage at 240V-sized per the nameplate, with a properly sized breaker and outdoor disconnect within sight of the condenser. Electrical work for mini-splits requires a dedicated circuit that complies with local codes.
The 2018 IRC and local electrical codes enforced in Knox County, Knoxville, Farragut and Oak Ridge govern breaker size, wire gauge, GFCI/AFCI requirements, and disconnect placement. Unincorporated Knox County adopted the 2018 International Residential Code by Ordinance O-18-10-101 on November 19, 2018. Readers must verify details with their local building department.
High-level steps include pulling appropriate cable from panel to disconnect, then from disconnect to outdoor unit, and connecting the communication/power cable from outdoor to indoor unit per the wiring diagram with proper grounding. I strongly recommend hiring a licensed electrician for panel work and main electrical connections, especially if you've never added a new circuit before. Improper electrical connections can void the mini split warranty, cause nuisance trips or create shock and fire hazards.
Refrigerant, Vacuuming and Starting the System
This is the line between "DIY-friendly" and "hire-a-pro" depending on the type of ductless mini split you bought.
Pre-charged DIY kits: Double-check all flare nut connections with a torque wrench, open the service valves slowly, and soap-test every joint for bubbles that show leaks. Sealing the line set and vacuuming lines are crucial steps-even on pre-charged kits, check the manufacturer's instructions on whether vacuum is still recommended.
Standard ductless mini split systems: A licensed HVAC professional should connect gauges, pull a deep vacuum to manufacturer specs (often below 500 microns), confirm it holds, then release or add refrigerant to the correct charge. Use a vacuum pump to remove air and moisture from the lines. Skipping the vacuum step can damage the compressor by introducing moisture and contaminants. EPA Section 608 certification may be needed for certain refrigerant handling project during installation.
Startup checklist:
-
Restore power
-
Set the system to cooling or heating mode
-
Confirm the outdoor fan and compressor engage
-
Verify the indoor unit drains correctly
-
Check that supply air temperature changes appropriately
Unusual noises, frost buildup or error codes in the first hour usually point to installation issues. Address them before closing everything up.
Common DIY Mini Split Installation Mistakes
These are the things I get called to fix after a diy mini split goes sideways.
Indoor unit mistakes: Mounting out of level so condensate spills inside the wall. Ignoring clearance requirements. Pointing airflow at a thermostat from another HVAC system so the whole zone runs weird.
Line set errors: Kinking copper during bends, overtightening or undertightening flare fittings (avoid overtightening flare joints to prevent refrigerant leaks), poorly sealed line sets causing refrigerant leaks, skipping insulation on suction lines outside, and leaving gaps in the wall penetration unsealed. Loose fittings can lead to refrigerant leaks and inefficiency.
Electrical mistakes: Sharing circuits instead of running a dedicated one, undersized wire, no disconnect at the outdoor unit, or mixed-up communication wires between indoor and outdoor units.
Drainage problems: Drain line sloping uphill in spots, no provision for freezing weather, or dumping condensate right at a foundation where it can rot siding or seep into a crawlspace.
Improper installation can cut efficiency by 30%. Any one of these common mistakes can wipe out the upfront cost savings of doing it yourself.
After Installation: Tuning, Maintenance and When to Call for Help
Getting the system running is step one. What about year round comfort? That depends on what comes after.
Dial in comfort: Adjust fan speed and louver direction on each indoor unit per season. Use sleep modes or timers. If you installed multiple rooms with multiple indoor units, balance the zones so no area is starved.
Simple maintenance schedule:
-
Clean or wash filters every 4–8 weeks
-
Gently rinse the outdoor condenser coil at least once a year
-
Inspect line set insulation and drain line annually for UV damage or clogs
Energy tips: Keep doors closed to the conditioned room to maximize energy efficient operation. Use ceiling fans on low to help circulate conditioned air. Avoid extreme setpoints that cause constant short cycling and reduce long term performance.
Call a pro when you see: Repeated error codes, ice on the outdoor unit in mild weather, strong refrigerant smells, breaker trips or water damage around the indoor unit. If you're in Knoxville, Farragut, Maryville or Oak Ridge, consider hiring someone like me for a consult or for the parts of the job you're not comfortable with-you can still save money by doing your own carpentry work.
FAQs About DIY Mini Split Installation
These cover questions that come up often but aren't fully answered above.
Do I Need a Permit to Install a Ductless Mini Split?
In most U.S. jurisdictions, including Knox County and nearby cities, you usually need at least an electrical permit for the new circuit and often a mechanical permit for the mini split installation itself. Call your local building department before starting-Knoxville, Farragut and Oak Ridge each run their own code plans based on the 2018 IRC and can have slightly different processes and fees.
How Long Does DIY Mini Split Installation Take for a First-Timer?
Expect 6–10 hours of actual labor spread over a weekend for a single zone system if you're handy and have tools ready. Waiting on inspections or scheduling a licensed electrician or HVAC tech can stretch calendar time even if your personal labor is limited.
Can One Outdoor Unit Run Multiple Indoor Units?
Yes. Multi zone ductless mini split systems use one outdoor unit to serve 2–5+ indoor units, each acting as its own zone. Dual-zone mini-splits use two indoor air handlers and allow independent temperature control in two areas. Dual-zone systems use the same outdoor unit for both zones and can lead to energy savings-they are ideal for homes with multiple bedrooms. However, multi zone setups involve more complex line lengths, elevation differences and branch connections, so professional installers are usually the right call unless you are very experienced.
Will a Mini Split Heat Pump Work Well in East Tennessee Winters?
Modern cold-climate ductless mini split cooling systems double as heating systems and can heat efficiently down into the teens, which covers most Knoxville-area winter conditions. For outlier cold snaps or poorly insulated spaces, a small backup heat source is still wise, but a good heat pump mini split can handle 90%+ of the heating season alone.
What's the difference between an indoor unit and an "air handler" in mini split language?
In ductless mini splits, "indoor unit," "indoor air handler," and "air handler" are used interchangeably-they all mean the wall or ceiling unit that blows conditioned air into the room. In ducted systems, "air handler" can mean a larger unit that feeds ductwork, but in a ductless mini split system it's simply the slim unit you see mounted on your wall.