DIY Mini Split Installation: A Builder's Real-World Guide
DIY mini split installation has gone from a niche project to something half my clients ask about. I build and remodel houses in Knoxville, Farragut, Maryville and Oak Ridge, and over the past few years I've watched some of those installs go great while others end up on my punch list as rework. This guide covers what a real-world install actually involves so you can decide whether it fits your skill set, your budget and your local code requirements.
Updated
Key Takeaways
-
A diy mini split installation is doable for careful homeowners, but electrical work and local code in Knoxville and Oak Ridge may still require licensed pros for parts of the job.
-
Most DIY-friendly kits use a pre-charged line set, so you never open the refrigerant circuit. A traditional mini split installation still needs a vacuum pump and EPA certification.
-
The best location for the indoor unit and outdoor unit is more important than brand choice. Bad placement is the number-one mistake I see in local garages, bonus rooms and sun rooms.
DIY vs "DIY-Friendly" Mini Split Systems
There is a real difference between a true diy mini split and a conventional ductless mini split system, and it matters before you spend a dollar. A true DIY kit, like Mr Cool or Zone Air, comes with a pre-charged line set and the outdoor unit already holds the correct refrigerant charge. You make mechanical quick-connect fittings, tighten them to torque spec, and the circuit stays sealed. No HVAC license is needed for this type of diy mini split installation.
A conventional mini split system comes with bare copper refrigerant lines. You have to cut, flare, leak-test with nitrogen, pull a vacuum to around 500 microns, and charge refrigerant by weight. EPA certification is needed to handle and charge refrigerant in mini-split systems. You need specialized tools most homeowners don't own.
Here's how they compare in practice:
| Feature | True DIY Kit (Pre-Charged) | Conventional Mini Split |
|---|---|---|
| Refrigerant handling | None-sealed quick-connect | Vacuum, charge, EPA cert required |
| Typical labor savings | $3,000–$5,000 | $0 (pro install expected) |
| Warranty with homeowner install | Usually honored | Often requires licensed installer |
| Special tools needed | Basic tools plus torque wrench | Vacuum pump, gauges, flaring tool |
Installing a DIY-friendly ductless mini-split system allows homeowners to cool or heat a space without professional HVAC setup. DIY kits include all necessary components for installation. But I've also seen botched jobs on systems marketed as "DIY" that actually required flaring and vacuuming. Read the installation manual before you buy, not after. Some brands marketed as easy installation still require specialized training and tools once you open the box.
Planning Your DIY Mini Split Installation
Installing a mini-split system needs careful planning of where the indoor and outdoor units will go before any holes are drilled. Here's what to sort out first:
-
Sizing: Size the mini split heat pump using room square footage, insulation quality, ceiling height and window area. A generic "12,000 BTU for everything" rule leads to systems that are too big, short cycling and humidity problems in Tennessee summers.
-
Local permits: Check local building and electrical codes, because they may require permits for HVAC installations. In Knoxville, mechanical and electrical permits are required for mini split system installs. The City of Knoxville now lists the 2024 IRC and 2024 IBC as its adopted building codes, with the 2018 IECC for energy and the 2023 National Electrical Code with local amendments. Oak Ridge lists the 2024 IRC, 2024 IBC, 2024 IPC, 2024 IMC, 2023 electrical code and the 2018 IECC (with the 2009 chart). Call your local building department before starting.
-
Logistics: Plan equipment delivery and get help for lifting the outdoor condenser unit (30–120 lbs). Don't open walls during a storm. Budget for electrical and structural odds and ends beyond the kit itself.
DIY installation of a mini-split requires careful attention to electrical and safety guidelines to avoid hazards. Permits and inspections may be required for electrical and HVAC installations depending on local jurisdiction, and ignoring this creates problems at resale and with insurance.
Best Locations for Indoor and Outdoor Units
Indoor unit placement:
-
You'll want to mount the indoor unit about 6.5 feet from the floor, high on a wall with clear airflow. Avoid blowing cool air straight onto a desk or bed.
-
Keep manufacturer-required clearances. Usually that's 6–8 inches above the air handler to the ceiling, and several inches on each side.
-
How does the drain need to run? The indoor unit makes moisture that has to drain with gravity, so point the drain hose so it always runs downhill.
-
Sun exposure, ceilings that are vaulted and open floor plans in Tennessee homes all affect where the inside unit should go for even comfort. Direct sunlight on the air handler wall can make it work harder for no reason.
Outdoor unit placement:
-
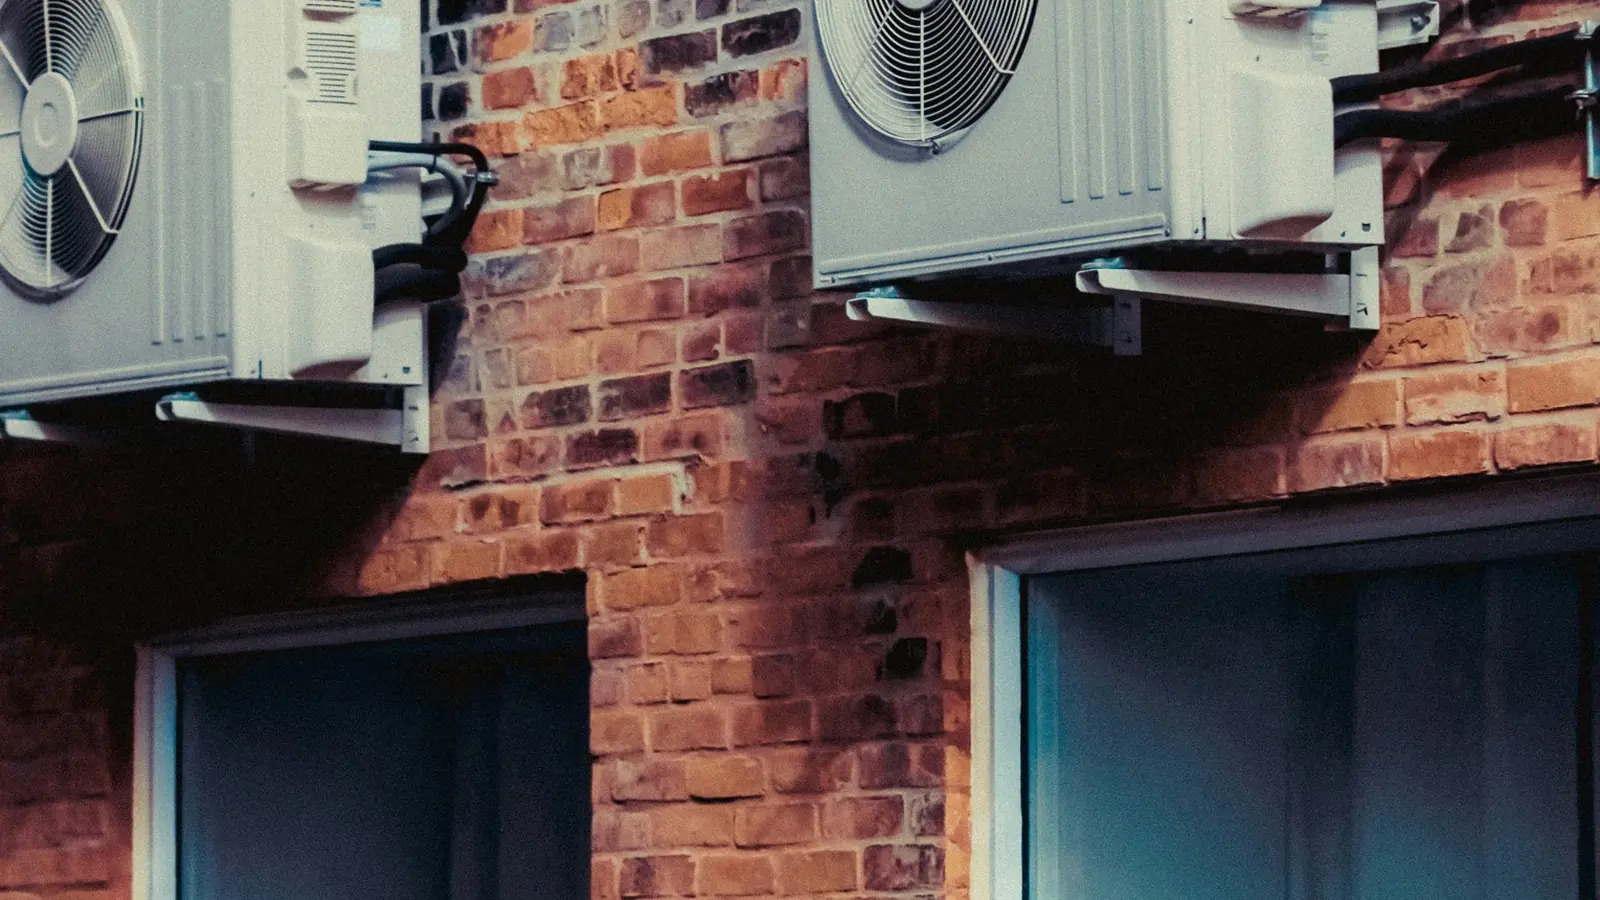
The installation should maintain specified clearance distances around the outdoor condenser unit for airflow and efficiency. Keep needed rear and side clearances per the manual.
-
Elevate the exterior unit 12–18 inches off grade to clear snow, leaves and weed-trimmer damage.
-
Set the condenser unit on a level surface. A concrete pad or wall mount bracket both work.
-
Avoid mounting under low decks with no airflow or in corners with zero side clearance. I regularly see units locally where roof ice and water dump directly onto the fan.
Tools and Materials for DIY Mini Splits
-
Cordless drill/driver and impact driver
-
3½-inch hole saw (masonry bit if you are going through brick)
-
Stud finder, small level, tape measure
-
There are appropriate fasteners for the wall mount bracket
-
A torque wrench is needed for line-set fittings on any system
-
Flaring tool if the kit is not pre-flared
-
A vacuum pump is necessary to evacuate air from refrigerant lines on conventional systems. Not using a vacuum pump can damage the compressor.
-
Micron gauge, manifold gauges, refrigerant scale
-
You will need wire strippers and a multimeter for electrical work
-
Non-contact voltage tester
-
Exterior-rated disconnect box, wire that is the proper gauge. The correct breaker per manufacturer specs
-
Line set cover, closed-cell pipe insulation (UV-rated for the exterior)
-
Silicone caulk, spray foam for sealing the holes in the wall
-
Mounting pads or vibration pads to reduce vibration under the condenser
-
Corrosion-resistant hardware for outdoor work
Traditional systems need specialized line evacuation, whereas some DIY-friendly brands come with pre-charged quick-connect lines that eliminate the need for a vacuum pump, gauges or refrigerant scale. If you want true easy installation, pick a pre-charged kit and skip the special tools.
Mounting the Indoor Air Handler
Start by locating studs with your stud finder and marking the mounting plate position. Use a level to make sure the indoor unit is straight, because improperly leveling it can cause drainage issues. On older plaster walls or thin garage partitions, add blocking behind the drywall so the wall can carry 30–40 lbs of wall mounted air handler plus vibration.
Drill a 3.5-inch hole for refrigerant lines, the drain hose and the control cable bundle. Wall penetrations for refrigerant lines must slope slightly down toward the exterior to promote proper drainage. Not sealing the wall hole can lead to air leaks, so after routing the bundle, seal around it with spray foam or silicone from both sides.
Installing the Outdoor Unit and Routing Lines
- Maintain needed rear and side clearances per the mini split system manual. Often that's 6–12 inches on sides, with more in front for service access.
Making Refrigerant and Electrical Connections
Conventional systems: The refrigerant lines must be evacuated with a vacuum pump and micron gauge to remove air and moisture. Actually charging or adjusting refrigerant is not a homeowner task. It requires EPA certification and specialized training.
Electrical connections: Most mini-splits require a dedicated circuit breaker and heavy-gauge wiring according to local electrical codes. In Knoxville and Oak Ridge, the 2023 NEC requires a properly sized breaker, disconnect box within sight of the outdoor unit, proper grounding and appropriate cable type. The electrical wiring and electrical components on these systems are not optional details. They're safety requirements. I recommend hiring a licensed contractor or electrician for new circuits. Budget a few hundred dollars for the dedicated circuit and disconnect.
Testing Your DIY Mini Split System
Once the installation process is complete, restore power at the panel and disconnect box. Set the mini split heat pump to cooling mode initially and let the system run 15–20 minutes so pressures and temperatures can settle.
- Use a basic IR thermometer to confirm supply air is 15–20°F cooler than room air in cooling mode. That tells you the system is doing real work and delivering cool air.
Many modern units support a wifi adapter or app control for year round comfort management. Set up connectivity after checking mechanical performance first. Take photos of the installation, nameplate labels and serial numbers for warranty registration. This is your insurance if you ever need service.
Common DIY Mini Split Mistakes
Every mistake here is something I've seen in garages, bonus rooms and sun rooms around Knoxville:
-
Electrical shortcuts: Sharing circuits with other loads, electrical wiring that is too small, or skipping the outdoor disconnect. These aren't just code issues. They're fire risks.
-
Ignoring codes: Ignoring local building codes can lead to installation failures, insurance problems and headaches at resale.
When to DIY and When to Hire
A diy mini split installation is the right solution when you have a single zone system going into an accessible one-story exterior wall, a short line set run, and a pre-charged kit that avoids refrigerant handling entirely. Mini split kits include all necessary components for installation in these scenarios, and basic tools plus careful planning get you through it.
In Knoxville, Farragut, Maryville and Oak Ridge, permits and inspections may be required for both the heat pump and electrical work, which sometimes pushes the project toward a licensed contractor anyway. Saving money is great, but comfort, safety and long term performance should be the final yardsticks for any split installation decision. An energy efficient mini split system only stays efficient if it's installed right.
FAQs about DIY Mini Split Installation
Do You Need a Permit for a DIY Mini Split?
Yes. Mechanical and electrical permits are commonly required for new mini split heat pump systems in both cities, even if the homeowner is doing the physical work. Knoxville uses the 2024 IRC/IBC and 2023 NEC; Oak Ridge follows the 2024 IRC/IMC and 2023 electrical code. Inspectors hold installs to those standards. Call your local building department before starting-unpermitted work becomes a problem when selling or filing insurance claims.
How long does a DIY mini split installation take?
Can You Mount a Mini Split on an Interior Wall?
You can mount an indoor unit on an inside wall if you have a clear path to route the line set, drain and wiring to the exterior without sharp turns or long unsupported runs. Examples include running lines through an attic then out a gable wall, or down through a basement. Inside-wall installs look cleaner inside but are more complicated in older homes with fire blocks and stacked plumbing.
Do DIY Mini Splits Work as Primary Heat?
Modern inverter mini split heat pumps do a solid job heating Knoxville-area homes down into the 20s and even teens if sized correctly. Mini splits can achieve up to 24 SEER2 efficiency, while traditional HVAC systems usually have a SEER2 rating of 13. Do high-efficiency mini splits pay off? They'll often make up for higher initial costs with energy savings. In poorly insulated garages or older additions, the limiting factor is usually the building shell, not the heat pump. It's a good idea to confirm local winter design temperatures and have a backup heat plan before relying on a mini split as your only source.
What maintenance does a DIY mini split need after installation?
Clean indoor filters every 4–8 weeks. Keep the outdoor coil and fan area free of leaves and grass clippings. Check line set insulation yearly for UV damage or gaps. Make sure the drain line stays clear. A deeper professional inspection every few years should cover refrigerant charge, electrical connections and system performance curves. Regular maintenance keeps the system efficient and warranties valid on newer high-SEER mini split systems.