Tools Needed to Install a Mini Split (From a Knoxville Builder)
Updated
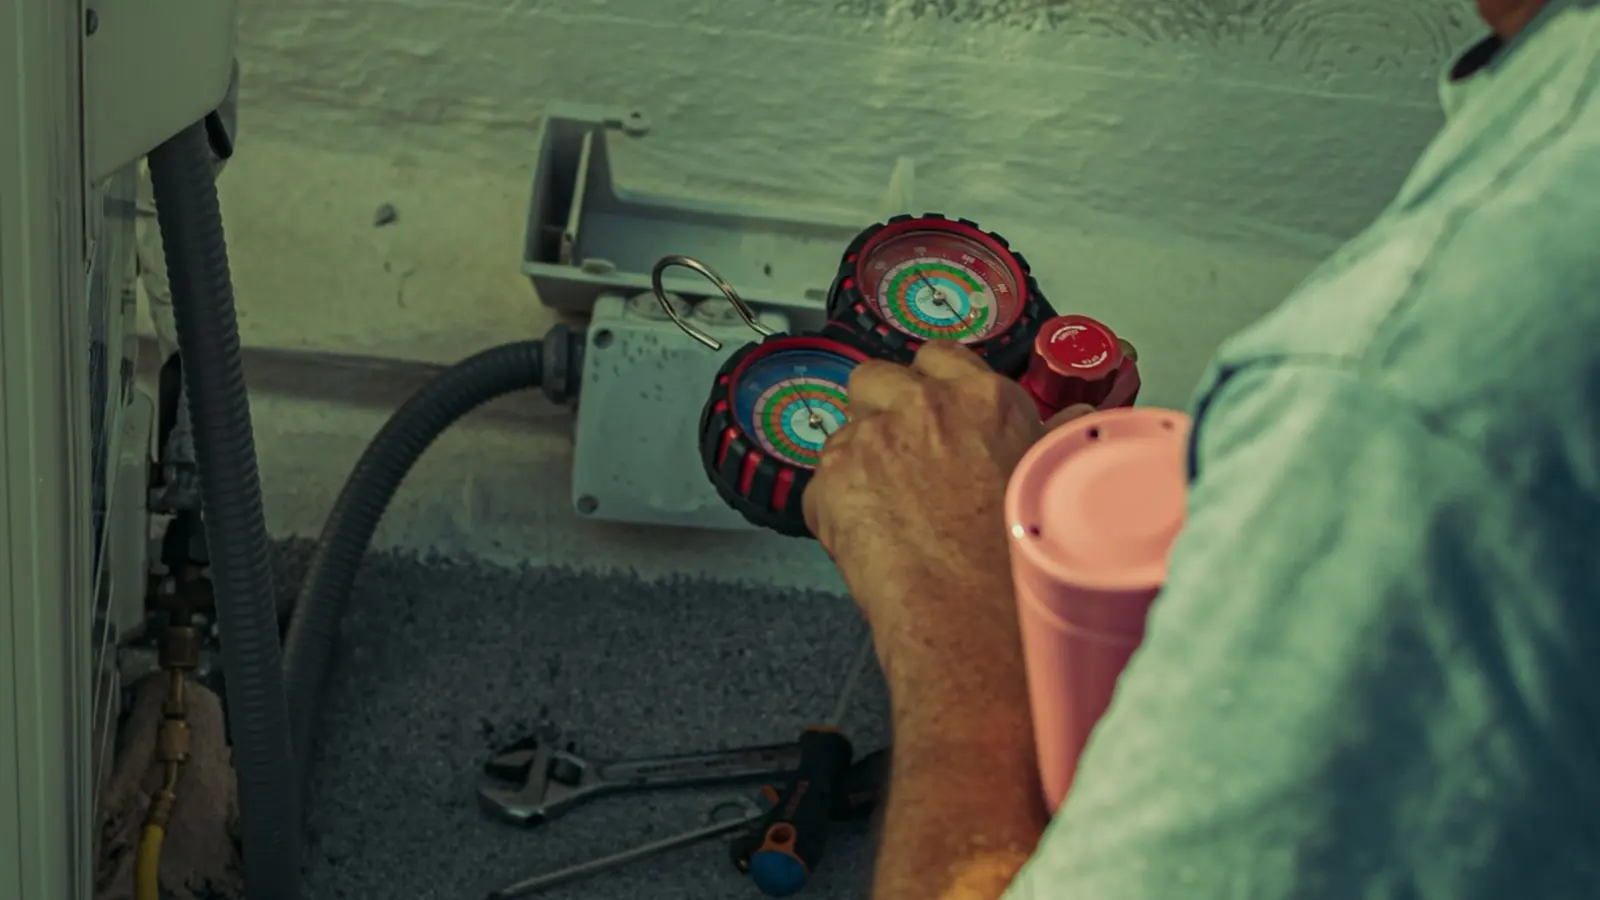
Essential Tools for Mini Split Installation
Tools needed to install a mini split are specialized HVAC and electrical equipment that most homeowners do not already own, and having the right tools is the difference between a clean, leak-free system and an expensive mistake. I install ductless mini splits around Knoxville, Farragut and Maryville regularly - garage shops, bonus rooms, older homes with no existing ductwork.
This guide covers the exact tools I use, not a step-by-step install walkthrough. DIY mini split installation is achievable, but certain tasks-refrigerant handling, panel wiring-cross into pro territory. Installation may require specific licenses due to refrigerant handling regulations, and improper work can void warranties. I'll rank every tool category, tell you what to buy vs. rent, and flag where hiring an electrician or HVAC tech makes sense.
How I Chose Mini Split Tools
I did not list every tool in an HVAC truck. I focused on what you might want for a one- or two-zone mini split install in a typical East Tennessee home. Here's how I chose:
-
Impact on performance and safety - a vacuum pump matters more than a better drill bit
-
DIYer accessibility - tools you can buy, rent or borrow instead of trade-only equipment
-
Cost versus frequency - own what you'll reuse, rent what you won't
-
Brand compatibility - works with Mitsubishi, LG, MRCOOL and common refrigerants like R-410A and R-32
-
Code fit - the 2018 IRC as used in Knox County doesn't set tool brands, but it determines what work a homeowner can legally do, especially electrical and refrigerant
Top 9 Tool Categories Needed to Install a Mini Split
I group tools into nine practical categories, from critical to nice-to-have. Pre-charged DIY kits like MRCOOL cut down on some specialized equipment, and I'll point out where that applies.
1. Core HVAC Tools - Vacuum Pump, Manifold Gauges & Micron Gauge
Installing a mini split needs specialized tools like vacuum pumps. You use them to pull air and moisture out of the refrigerant lines before you start the system up. Skip this and moisture forms acids that will kill the compressor. Manifold gauges let you monitor refrigerant pressures during testing and charging, and they are essential on any traditional system. A digital micron gauge tells you when you've hit deep vacuum (below 500 microns). Improper refrigerant handling can be a health hazard, and doing the install wrong can cause system failure or dangerous leaks. Pre-charged refrigerant lines on MRCOOL-style kits eliminate the need for these tools completely, which is a big reason you might go the DIY route.
2. Line-Set Tools: Flaring, Cutting & Bending Equipment
Flaring tools make precise connections on copper tubing for refrigerant lines. You need them on any traditional mini split system. You'll also want a good tube cutter that handles 1/4" to 5/8", a deburring tool, spring benders so you do not kink anything, and a torque wrench to tighten flare nuts to manufacturer spec so they do not leak. Running refrigerant lines and wiring means connecting system components, and rushing the flares leads to slow leaks that show up months down the road. Cheap flaring tools are a false economy.
3. Wall & Mounting Tools: Drilling, Leveling & Anchoring
Mounting the indoor unit needs precision and a level. So how important is it to get the indoor unit level? A spirit level ensures that the indoor and outdoor units are perfectly lined up, which prevents vibration and drainage issues. Proper installation includes the use of tools like drills and wrenches for mounting components. You'll need a hammer drill with masonry bits for brick (common in Knoxville homes), a hole saw (2.5"–3.5") to pass lines through the inside wall, a stud finder and Tapcons or sleeve anchors. The mounting bracket must sit level. A crooked indoor unit is an obvious DIY tell and causes condensate problems.
4. Electrical Tools for Mini Split Power
A multimeter is essential for testing electrical circuits and checking voltage. You also need wire strippers, fish tape, lineman's pliers and a non-contact voltage tester. NEC Article 440.14 requires a disconnect within sight of the outside unit. Working inside a live panel is not something I'd recommend for most homeowners - wrong breaker sizing or wire gauge fails inspection and can start a fire. For the electrical wiring and connections, an electrician is money well spent.
5. Drainage & Condensate Management Tools
Improper draining is one of the most common problems I run into. You need a PVC cutter, fittings with primer and cement, a small level to keep continuous slope, and a wet/dry vacuum to pressure test the drain path. Poor condensate management causes water stains, mold and headaches inside finished space.
6. Line-Set Cover & Weatherproofing Tools
Line-hide channels protect your lines from UV, weather and weed-eaters. Pick up a fine-tooth saw, caulk gun with exterior sealant, and minimal-expansion spray foam. Installation kits usually come with insulation sleeves and communication wires, but the weather protection tools are usually on you.
7. Measurement, Layout & Planning Tools
Good prep is about evaluating the installation space carefully. A tape measure, carpenter's pencil, laser level for long runs, and cardboard templates to plan indoor unit location all help you get proper airflow and meet manufacturer clearances. They are simple tools, but skipping them guarantees mid-project surprises.
8. Safety Gear for DIY Work
Safety gear means safety glasses and gloves to protect against hazards. They are non-negotiable. Add hearing protection for hammer drilling, a respirator for masonry dust, and a stable ladder that is rated for your weight. Mini split installs combine sharp copper, heavy equipment and live power. Skip the PPE and you'll learn why the hard way.
9. Diagnostic & Commissioning Tools
Testing the system makes sure it performs like it should under different conditions. A clamp meter lets you compare running amps to manufacturer specs, an infrared thermometer checks the supply and return air temperature difference, and leak detection solution at every flare joint finds problems before they get expensive. Final testing is the last key step before you call the job done.
Which Mini Split Tools Matter Most?
-
Core HVAC Tools are best for full non-DIY-kit installs. Handle evacuation yourself.
-
Line-Set Tools are best for leak-free copper connections on any traditional install.
-
Wall & Mounting Tools are best for a solid, level mount on wood, brick or block.
-
Electrical Tools are best for staying on the right side of the inspector and keeping power safe.
-
Drainage Tools are best for preventing ceiling stains and mold.
-
Line-Set Cover & Weatherproofing are best for protecting lines and curb appeal.
-
Measurement & Layout Tools are best for planning clearances in tight rooms.
-
Safety Gear is best for coming out of the job with all your fingers.
-
Diagnostic & Commissioning Tools are best for checking that your new system runs within spec.
How to Decide What Tools You Need
Choosing Based on Your Mini Split Type
Pre-charged DIY kits let you skip vacuum pumps, manifold gauges and flaring. Traditional systems from Mitsubishi, LG or Daikin need full HVAC tools or a tech for evacuation. Before you buy anything, you should read your install manual. DIY installation can void manufacturer warranties on some brands.
Choose Based on Your Experience Level
You can get through setup in a few hours with a DIY kit, and it is pretty easy if you're comfortable with a drill and basic wiring. If you've never opened a panel or used a vacuum pump, you can always hire a pro for just the electrical and refrigerant phases. You might not have the specialized tools for mini split installation. That is fine. You can split the job.
Choosing Based on Budget and Tool Use
Buying specialized tools can add significant costs to DIY projects. For a one-off install, you'll want to rent the vacuum pump and gauges. You'll want to own your drill, level and safety gear. Professional installation is going to cost between $1000–$2000 per unit. If your tool budget approaches that, you might want to rethink the plan. Energy savings and energy efficiency gains from a properly installed mini split only show up if the install is done right.
Which Tool Setup Is Best for You?
-
Choose a little setup if you are installing a pre-charged DIY mini split, you can handle drilling and basic carpentry. You'll have an electrician do the circuit. Your unique needs are little.
-
Choose a mid-range setup if you are handy, you are putting in one or two traditional systems. You'll rent the vacuum pump and gauges while doing the rest yourself.
-
Choose a full pro-level setup if you plan multiple installs like shops, additions or rental units on your roof or wall, and you want full control over evacuation, commissioning and future service.
On my Knoxville projects, I see the most DIY success when homeowners handle the carpentry and layout, then bring in licensed trades for the panel work and refrigerant charge verification. That is the sweet spot for saving money without risking efficient operation or heating and cooling performance.
Final Thoughts
The right tools are what separate a mini split that runs quietly for ten years from one that leaks refrigerant, trips breakers or grows mold behind drywall. Wall mounting and drainage tools are non-negotiable for you as a DIYer. HVAC and electrical work is where you might sensibly draw the line and call a pro.
Local code like the 2018 IRC in Knox County and Farragut does not care who owns the tools. It only cares that the finished work on your indoor and outdoor units is safe and up to code. Around Knoxville, I'm happy to handle the full mini split installation or just the tricky parts of your new system. Even if you're outside East Tennessee, the same tool priorities apply.