Mini Split Installation Mistakes (From a Knoxville Builder)
Updated
Key Takeaways
-
Picking the wrong size mini split and putting the indoor or outdoor unit in a bad spot is what can cost homeowners the most when it comes to comfort, how well the system runs, and how much they pay for energy.
-
DIY refrigerant work, missing vacuuming and bad line-set work permanently damage equipment and void warranties.
-
Knox County requires R-2 insulation on refrigerant lines and R-8 on ductwork in attics - requirements often ignored by DIYers and out-of-town installers, leading to condensation and code failures.
-
Bad electrical wiring and loose connections can cause problems with how the unit performs, create a fire risk and trip breakers.
-
This article will walk through sizing, placement, line work and installation details so you know what to check before you hang a single bracket.
Mini Splits Are Great, But Bad Installs Cost You
Mini split installation mistakes are probably the root cause of most problems I deal with on Knoxville remodels, not bad equipment. I like mini splits. They can use less energy, and they can work well for additions, bonus rooms, garages and open floor plans where it does not make sense to run ductwork. But most problems might come from improper installation.
I'm a builder, and I have work in Knoxville, Farragut, Maryville and Oak Ridge. I do run into bad installs on remodels and home inspections all the time. This article isn't teaching you how to handle refrigerant or how to break code - it is showing you how to spot and avoid costly repairs before they start. Quick terms: the indoor head goes on your wall, the outdoor unit (condenser) sits outside, the refrigerant lines connect the two units, a drain handles the condensation, and an electrical feed runs everything.
Mistake #1 Picking the Wrong Size Mini Split
The rule of "1 ton per 500 sq ft" doesn't work in East Tennessee. Our homes might have mixed insulation levels, tall ceilings and lots of windows. If you skip a Manual J load calculation, you can end up with a system that is the wrong size - and when an HVAC unit is the wrong size, it leads to inefficient operation every time.
Undersized units can struggle to maintain the temperatures you want. On a 95°F July day in Knoxville, the system runs all the time, it can't pull the humidity down, and the rooms still feel hot and sticky. Oversized units lead to frequent on-off cycling, wide temperature changes and poor dehumidification in spring and fall.
A proper pre-installation load calculation is going to look at insulation, windows and climate. Knoxville's design temps are about 92°F for cooling and 16°F for heating, with latent lots making up 30–40% of cooling demand. A bonus room that is 350 sq ft and well-insulated might need 12,000 BTU. A leaky sunroom with three exterior walls and big windows could need 18,000 BTU. Don't let a big-box kit solve this for you - get the load calc done.
Mistake #2 Bad Indoor Unit Placement
Once you bolt a mini split head to the wall and core the hole, moving it is a pain. Where you put the indoor unit has a direct effect on airflow and on how temperatures spread through the room. Bad placement blocks airflow and creates temperature problems through the whole room.
Bad locations I see all the time: heads stuffed behind beams that block circulation, blowing cold air right onto a bed, or mounted so high the unit can't draw return air past furniture. You need to position it to avoid obstructions - it should throw air across the longest dimension of the room, not into a soffit or the back of a ceiling fan. Bad thermostat placement causes inefficient cooling or heating too, so put thermostats on inside walls away from doors and direct sun.
Plan where the line set and drain will exit before you drill. What happens when you pick a wall just because it is easy? You usually end up with ugly covers on the front façade or a steep drain that bubbles.
Mistake #3 Bad Outdoor Unit Location and Clearances
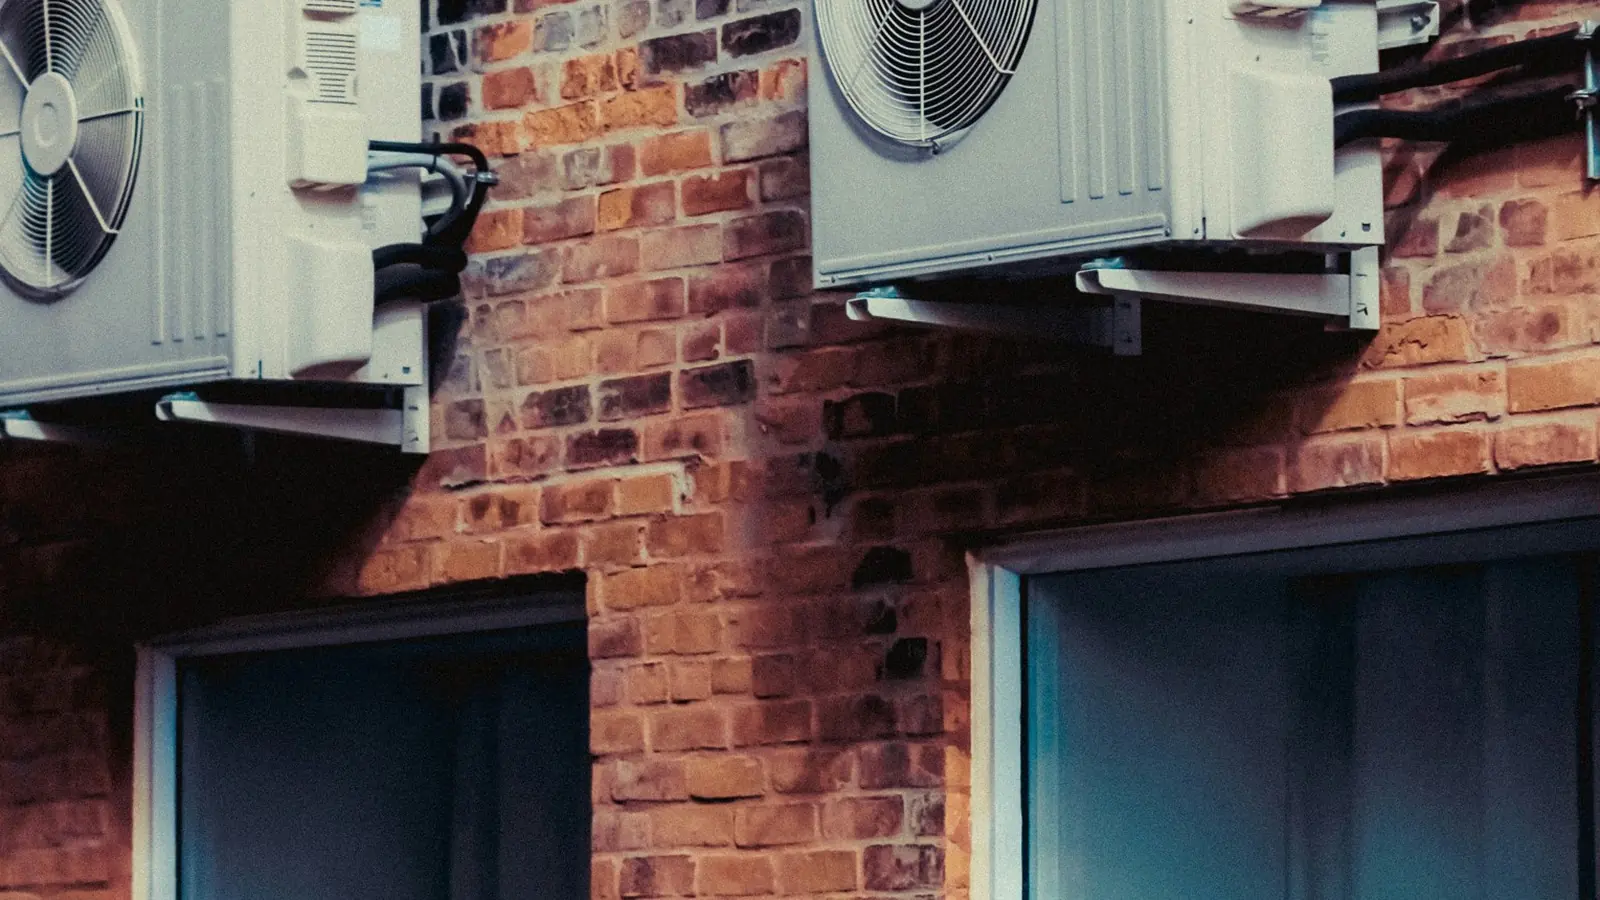
On tight Knoxville city lots, I see condensers stuffed under decks, fenced in with lattice or sitting below roof valleys where debris, ice and water hammer them all winter. The outdoor unit needs enough clearance for airflow - without it, hot discharge air loops back, capacity drops and the compressor works harder.
Putting the condenser in a shaded spot is going to help efficiency and performance. A north or east wall is going to beat full sun on a south-facing wall. It should be set on a proper pad or wall bracket, not right on dirt where it sinks and puts stress on the refrigerant lines. Leave enough room to remove panels, connect gauges and wash the coils. Do not jam it into landscaping where a pro can't service it without a bush knife.
Mistake #4 Sloppy Line Set Work, Insulation and Drainage
This is where most DIY mini split problems show up months later. Kinking copper lines restricts refrigerant flow and can cause the system to fail. You need to route lines with minimal bends to keep flow and performance up, and runs that go past the manufacturer's length limit hurt capacity.
Skipping insulation on refrigerant lines causes condensation - I see bare suction lines in attics sweating and dripping onto ceilings all the time. Knox County requires at least R-2 on refrigerant lines. Cheap black foam left in the sun cracks within a year, and squirrels chew it if they can get to it. Use UV-rated covers.
Mini splits can leak water when drain lines clog, so the drain needs a continuous downward slope of at least 1/4 inch per foot. I've seen drains run uphill inside a wall cavity, pooling water, growing mold and rotting framing. Don't hide flare joints where you can't inspect them later.
Mistake #5 Skipping the Vacuum, Charging and Leak Checks
Installing a ductless mini-split system can lead to problems without proper steps - and this is the step most often missed. Evacuating the system to below 500 microns is going to remove moisture and air contaminants. Failing to evacuate refrigerant lines can lead to compressor damage, acid formation and ice buildup on coils.
The common shortcut - cracking valves to "burp" all the refrigerant through the lines - leaves moisture inside. That moisture forms acid, ruins the compressor and voids your warranty. Poor commissioning can lead to missed issues in refrigerant flow and system performance. Mini-split systems need specific torque settings for flare fitting connections to prevent leaks. Unchecked refrigerant leaks are going to reduce cooling capacity and efficiency over time, and ice formation on coils prevents mini splits from heating when January hits.
A handy homeowner can mount everything and run lines, then bring in a licensed HVAC tech to pull vacuum, leak-check and commission the system. That's where to draw the line.
Mistake #6 Electrical and Communication Wiring Problems
Improper wiring shows up as weird error codes, not just dead units. Using the wrong wire size for electrical connections can lead to performance issues or hazards. A tripped breaker can stop a mini split from turning on - and if the root cause is undersized wire or a missing disconnect, you've got a fire risk.
Electrical requirements must comply with local codes and manufacturer's specifications. Use the exact communication cable the manual calls for - not leftover thermostat wire. Loose connections at terminals overheat. Verify breaker size and wire gauge from the nameplate, follow the terminal numbers exactly, and if the remote commands aren't being followed or the indoor unit won't respond, suspect communication cable problems immediately.
In Knoxville inspections, electrical is often the item that fails first. Have a licensed electrician land the power in your panel.
Mistake #7 Ignoring Codes, Insulation and Service Access
Most online mini split guides are written for other states. Knox County requires R-8 on ductwork in attics and R-6 elsewhere, R-2 on refrigerant lines and plumbing, and a permanent energy certificate posted on or in the electrical panel. Inspectors do look at exposed line sets in attics and garages.
Skipping insulation leads to condensation on cold lines in summer, dripping onto ceilings, rim joists and electrical panels. DIY HVAC repairs can create safety hazards and equipment failure if you do not follow code. Burying line sets in spray foam without sleeves, or building decks tight around outdoor units, makes future repairs much more expensive - sometimes the original installer is gone and the next service call means tearing walls open.
Pull permits when they're required. Ask your installer how future maintenance will be handled. Don't accept work that hides critical components where you can't get to them.
DIY or Call a Pro
You can mount brackets, drill walls, hang the indoor unit, run the line set and drain, pour a small concrete pad, and install line set covers. Those are legitimate DIY tasks that save you real money.
I draw the line at refrigerant connections, electrical panel work and commissioning. I coordinate licensed HVAC and electrical trades to finish to code and handle any problems that come up during inspection. Homeowners in our area often do the dirty work - digging conduit ditches, patching siding - while pros handle what matters for safety, warranty and proper operation.
A clean, code-compliant install costs more up front but prevents surprise ceiling leaks, tripped breakers and warranty fights. That's the fix that actually holds. Share this with someone dealing with a mini split project - or you can contact a local professional before you struggle through it alone. You can find us on Facebook or reach out directly.
FAQ
Can you install a mini split yourself in Tennessee without voiding the warranty?
Most manufacturers allow homeowner installation of physical components but need a licensed HVAC technician for refrigerant-side work and system registration to maintain the full warranty. Check your brand's terms before starting - lack of recorded professional startup becomes a hassle if a compressor fails early.
How Far Can the Outdoor Unit Be?
Every model has a maximum line set length and vertical separation in the manual - often 50–100 feet with specific height limits. Going past those limits hurts performance and may need extra refrigerant. You'll want to keep the outdoor unit as close as practical while still getting good airflow and service access.
Do Mini Splits Heat Well in Knoxville Winters?
Modern cold-climate mini splits heat efficiently into the low teens, which covers most Knoxville nights. Cheaper cooling-focused models do lose capacity below freezing. Specify a low-ambient model and check its rated heating capacity at 17°F, not just 47°F.
What maintenance does a mini split need after installation?
You'll want to clean or replace filters every 1–3 months. Wipe the indoor housing, keep the outdoor coil clear of leaves and dust, and check the condensate drain line regularly for clogs. Run the unit's dry mode to cut down moisture buildup. Schedule professional maintenance at least once a year and check refrigerant levels so you don't lose efficiency. Weak airflow usually means dirty filters or blocked vents - catch it early.
How Do You Know If a Mini Split Was Installed Wrong?
Watch for these signs: water dripping indoors, the outdoor unit short cycling every few minutes, cold drafts from a poorly placed head, or visible bare copper lines with condensation and rust on the siding. Clogged air filters can block airflow in mini splits too, so rule that out first. If performance problems keep up, have a local HVAC pro walk the install - fixing placement and drainage early is cheaper than dealing with water or mold damage later.