How to Add AC to a Shed: A Knoxville Builder's Guide
Updated
Key Takeaways
-
Start by deciding how you'll actually use the shed, whether that's an office, workshop or storage space, and size the air conditioner to the real square footage and how much sun hits it.
-
In most sheds, a ductless mini split or a portable air conditioner with a proper vent can be the best balance of comfort, cost and how hard it is to install yourself.
-
Insulation and air sealing can matter as much as the AC unit itself, because without them you might just be pouring cool air into a leaky box and running up your power bill.
-
Plan the electrical work before you buy anything, since many mini splits and larger window units need a dedicated 240V circuit that you would need an electrician to install.
-
Here around Knoxville, where July highs average 88.4°F, a correctly sized mini split with an outdoor unit and good insulation can turn a backyard shed into a real four-season office or hobby space.
How to Air Condition a Shed
How to add AC to a shed is one of the most common questions I can get as a builder in Knoxville. You might want to turn a basic backyard shed into somewhere you can actually sit, whether that is a shed office, an art studio, a reading nook or a gym. The conversation always starts the same way: "Can I just stick an air conditioner in there?"
Step 1: Check Your Shed First
Before you shop for anything, it is a good idea to go out to the shed with a tape measure and a notebook.
-
Measure the interior length, width and ceiling height, then calculate the total square footage, because that is what drives every decision about how big your air conditioning needs to be.
-
Note wall thickness, siding type (vinyl, T1-11, metal), roof color, and whether there are existing vents, doors or windows.
-
You can check which way the shed faces and how much sun it gets. A dark metal roof in full west sun in Farragut needs a lot more cooling than a shaded shed in Oak Ridge, and outdoor shade from awnings or works can help lower the surrounding air temperatures before you even install a unit.
-
Look for a clear wall bay where you could mount a mini split indoor head or frame a through-the-wall unit, and check whether any existing window is strong enough for a window unit, since double-hung windows work best.
-
Look at what you've got for electrical now, whether that is a subpanel, a single outlet on an extension cord, or nothing at all. That is what determines which AC units you can use without having to do major electrical work.
Step 2: Pick the Right AC Type for a Shed
There are four main options, and each has trade-offs between cost, comfort, noise and how hard it is to install.
-
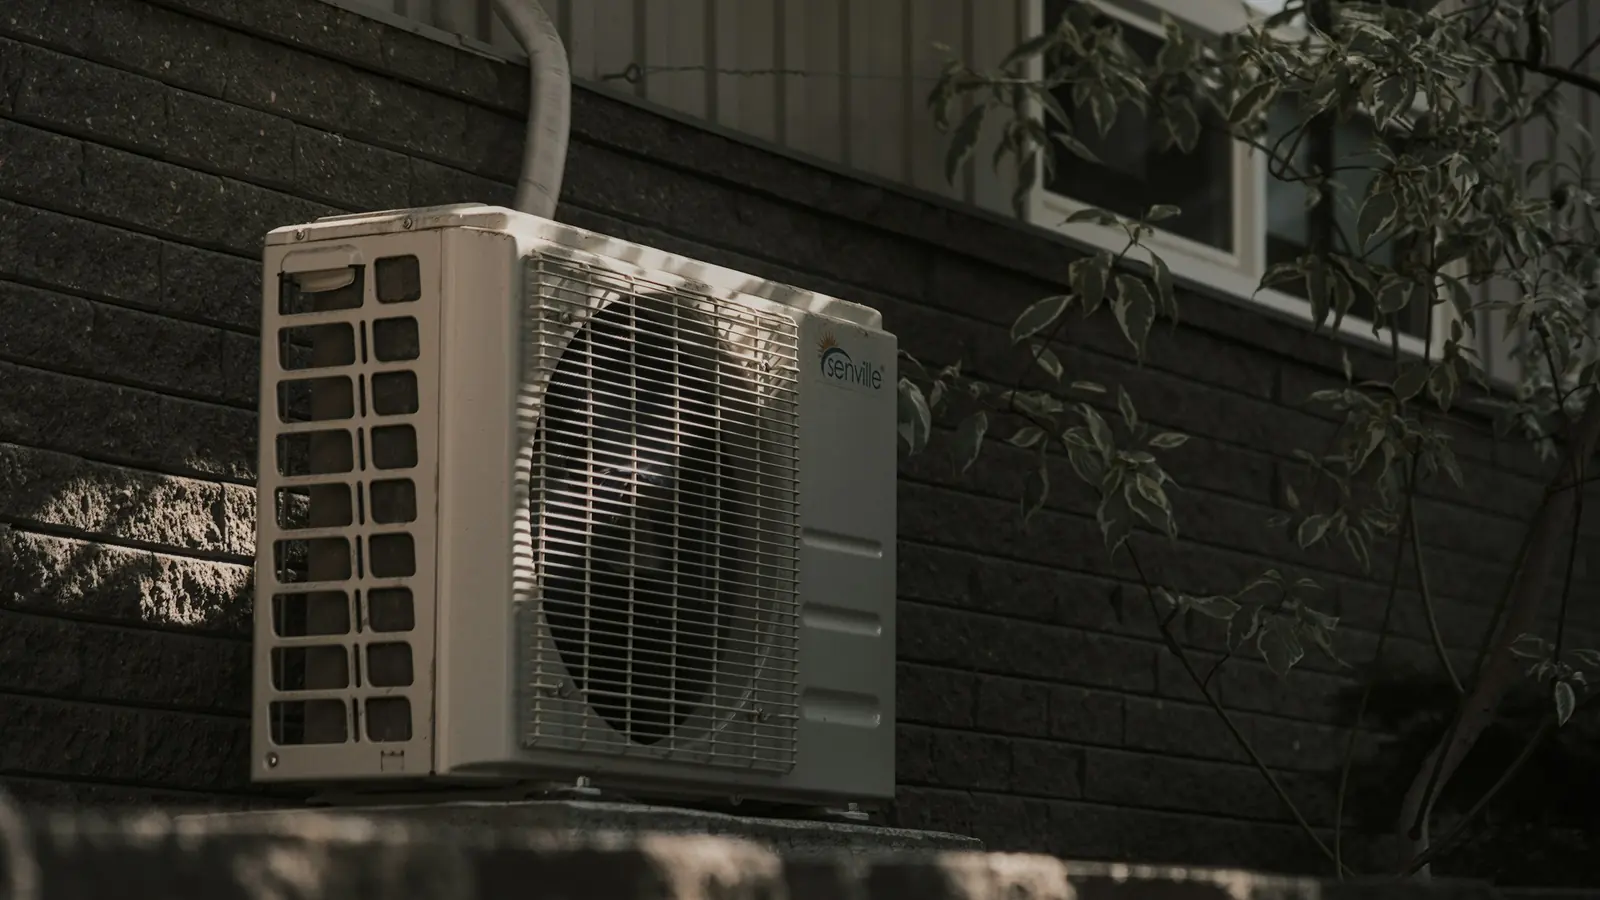
Ductless mini split: This is best for year-round use. Mini splits are the most energy-efficient option for sheds, usually rated 22–25 SEER2 compared to 10–12 CEER for window units. They are quiet, with indoor noise as low as 19–30 dB on low speed, and many provide both heating and cooling. The upfront cost is higher at $1,500–$3,500 installed for a 9–12k BTU unit, and the installation needs refrigerant handling by a licensed tech.
-
Window AC: Window units are common and easy on the budget for cooling sheds, running $200–$600. They work best with double-hung windows, and if your shed doesn't have one, you'll need to frame a wall opening. They go in through a window or wall opening. They can block windows and cut down on air flow, so plan placement carefully.
-
Through-the-wall AC: This is similar to a window unit but with a cleaner install and better seal. It is good for sheds without usable windows. To install it, you'll cut a hole between the studs, slide in a sleeve and put insulation around it.
-
Portable air conditioners: These are easiest to set up and cheaper upfront at $300–$800. But they're the least efficient and most noisy at 50–70 dB. Portable units need a way to vent exhaust outside, usually through a window kit or a dedicated wall vent. They need a plan for condensate drainage. They're best for occasional use, not a full-time shed office.
A ceiling fan or fan that moves back and forth can help with air circulation and comfort in a shed no matter which system you choose.
Step 3: Size Your Shed AC Right
Choosing the right size for your AC unit is crucial if you want to cool a shed efficiently. Based on the size of the shed, you can calculate how many BTUs you need to pick an appropriate unit.
-
100–150 sq ft (insulated, moderate sun): 5,000–7,000 BTU. If it's poorly insulated or in full sun, bump that to 8,000–10,000 BTU.
-
200–250 sq ft: 8,000–10,000 BTU if it is insulated. 12,000–14,000 BTU for situations with limited cooling capacity like uninsulated walls or metal roofs.
-
300–400 sq ft: 12,000–18,000+ BTU, possibly with multiple units.
-
You can use an online BTU calculator, then adjust upward for metal roofs, lots of windows or tools that give off heat in a workshop.
-
Do not get one that is too big. Too large an AC unit will short-cycle, blowing cool air briefly then shutting off before it removes humidity. In humid East Tennessee summers, that leaves the room feeling damp and sticky. One Reddit user learned this the hard way putting a 12,000 BTU mini split on a 96 sq ft shed.
-
Most mini split systems for sheds come in 9,000, 12,000, and 18,000 BTU sizes that cover typical backyard structures.
-
If you're converting a shed to a full-time living or guest space, talk to an HVAC pro about a proper cooling load calculation.
Step 4: Insulate and Air Seal the Shed Before Installing Air Conditioning
This is where I see the most money wasted. You might buy a perfectly good air conditioner, skip insulation and then wonder why hot air keeps winning. Good insulation is what helps maintain temperature in sheds, and it can reduce the load on air conditioning units dramatically. Without proper insulation, even the best air conditioning system will struggle.
-
Insulate the ceiling or roof deck first-heat gain through the roof is the biggest problem in July and August. A radiant barrier under a dark roof makes a huge difference.
-
Fill wall cavities with fiberglass batts at $0.75–$1.50/sq ft, or use rigid foam boards on walls and doors. Insulating walls, ceilings and floors improves AC efficiency across the board.
-
Proper insulation also cuts heat loss in sheds during winter, so insulated sheds are easier to heat when cold weather comes. It can also help keep pests and pollutants out.
-
Air sealing is just as important. Put weather stripping around doors, caulk around windows and spray foam around wall penetrations. Seal gaps and insulate walls to improve energy efficiency.
-
Light-colored roofs help reflect sunlight and reduce heat absorption. If your shed has a dark roof, consider a reflective roof coating.
-
When it's done right, the shed should feel different, with no obvious drafts and temperature that holds when the AC cycles off.
Step 5: Plan Safe Electrical for Your Shed AC
Electrical systems must support dedicated power for AC units. Sheds often need dedicated electrical circuits, and this is where DIY usually needs to stop.
-
Small portable air conditioners and compact window units may run on a 120V circuit. Most mini splits and larger AC units need a dedicated circuit at 240V.
-
Hiring a certified electrician ensures safe electrical installation. They'll run a properly sized cable, often underground and install a subpanel or dedicated circuit in the shed.
-
In Knoxville, Farragut, Maryville and Oak Ridge, local code requires permits for new electrical circuits and mechanical equipment installation. Check before you trench.
-
Plan outlet locations so the air conditioner doesn't rely on an unsafe extension cord lying across the floor.
-
Add extra capacity for lights, a dehumidifier, an exhaust fan and any future tools or office electronics. Most owners will upgrade their shed use over time, and coming back to add circuits later costs more.
Step 6: Install Different AC Units in a Shed
Here's a quick overview of each installation method. I'm not giving full code-level detail, so follow manufacturer instructions and call a pro when the job demands it.
-
Mini split: Mount the indoor head high on a wall. A mini split needs a three-inch hole to route the line set and drain to the outdoor unit. Set the outdoor unit on a raised pad or wall brackets, keeping it clear of water and debris. A licensed HVAC tech must pull vacuum, charge the system and verify connections.
-
Window unit: Reinforce the window framing if it's weak. Tilt the unit slightly outward so condensate drains outside. Seal around it with foam and trim to prevent outside air from leaking in.
-
Through-the-wall AC: Cut and frame a new opening between studs, slide in the sleeve, then fully insulate and seal the gap to prevent drafts and pests. This gives a cleaner look than a window unit.
-
Portable AC: Route the exhaust hose through a window kit or a dedicated vent in the wall. Keep the hose run short and straight-long, kinked hoses kill efficiency. Manage condensate with a tank, gravity drain or condensate pump. Proper drainage prevents condensation from pooling, which can lead to water damage.
Step 7: Ventilation, Fresh Air and Moisture
Cooling alone is not enough in small spaces. If you're painting, woodworking or working out in the shed, you need a plan for fresh air and humidity levels.
-
Add a simple exhaust fan or small vent so you're not sealed into a completely airtight box with chemicals or exhaust. Route the exhaust fan to the exterior, seal the penetration and size it so it removes stuffy air without making the AC fight constant outside air infiltration.
-
Many modern mini splits and some portable air conditioners have dehumidify modes, but a separate dehumidifier may still be smart for very damp sites.
-
How do you balance fresh air with cooling? Open doors or windows when the weather works with you, and let the cooling system catch up after.
-
Good ventilation keeps humidity levels in check and prevents the musty smell that hits sealed-up sheds in East Tennessee.
Step 8: Controls, Comfort and Everyday Use
Once your air conditioning unit is installed, planning around controls and habits makes the space really livable.
-
Look for units with a remote control, programmable thermostat or Wi-Fi control. For a shed office, quiet operation matters and a mini split at 25 dB is night-and-day compared to a noisy window AC at 55 dB.
-
Before heading out to work, you can pre-cool the space. Set a schedule or use Wi-Fi controls to start the system 20 minutes early so you walk into cool air.
-
Many mini split systems with heat pump modes let you use the same unit for both heating and cooling year round. In our mild Knoxville winters, where January lows average around 30°F and we only get about 4.6 inches of snow a year, a heat pump handles the job without supplemental heat.
-
Use a small fan to improve air flow in oddly shaped sheds. Keep doors and windows closed during the hottest part of the day. Energy consumption drops a lot when you are not fighting constant heat gain from outside air.
-
The goal is a comfortable space that works like a real room in your house, with efficient cooling, low energy consumption and a space you actually want to spend time in.
Step 9: Maintain Your Shed AC Long-Term
Regular maintenance will keep your system running and your energy savings in place.
-
Clean or replace air filters regularly for efficiency, every 2–4 weeks in a dusty workshop or during pollen-heavy East Tennessee springs.
-
Check seals around window units and through-the-wall ACs each season. Re-caulk or re-foam to prevent air leaks and maintain efficient operation.
-
Ensure outdoor compressor coils are free of debris. You can keep grass, leaves and weeds away from the outdoor unit for proper air flow.
-
Schedule professional inspections to maintain AC performance, annually for mini splits, checking refrigerant levels, cleaning coils and checking electrical connections.
-
Always shut off power before any DIY cleaning around electrical components.
FAQ
Extension cords for shed AC?
A heavy-duty outdoor-rated extension cord might work for a very small portable air conditioner on a truly temporary basis, but it is not safe or code-compliant long-term. Extension cords can overheat, create tripping hazards and cause breaker trips when the compressor starts up. If you'll use the space regularly, invest in a permanent, properly sized dedicated circuit installed by a licensed electrician.
Permits for shed AC in Knoxville?
Permits are typically required when adding new electrical circuits or installing a mini split with an outdoor unit and refrigerant lines. Exact rules vary by jurisdiction. If you're in Knoxville, Farragut, Maryville or Oak Ridge, check with your local building department before starting work. Simple plug-in portable units usually don't require a mechanical permit, but the electrical work to power them might.
Connect shed to home central AC?
Extending ductwork from your house to a detached shed is almost always a bad idea. You lose enormous energy running ducts outdoors, it creates code issues and most central systems are sized just for the house, so they don't have spare capacity. A stand-alone air conditioning system, whether that's a mini split, window AC or portable AC, is a simpler, more cost effective approach.